 AT
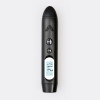
AT  Portable coffee makers
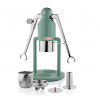
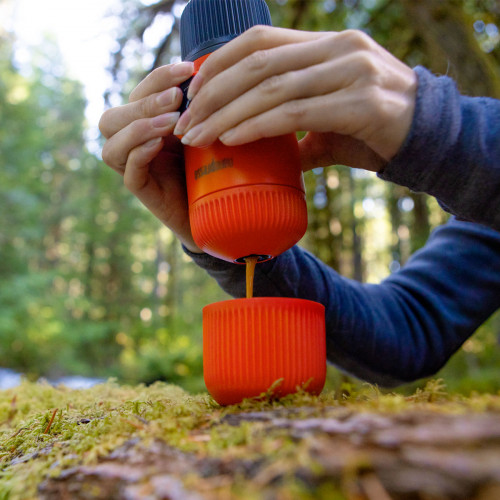


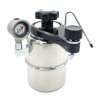
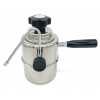
 Special coffee makers
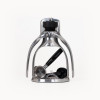


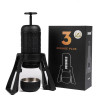
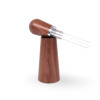
 Coffee grinders
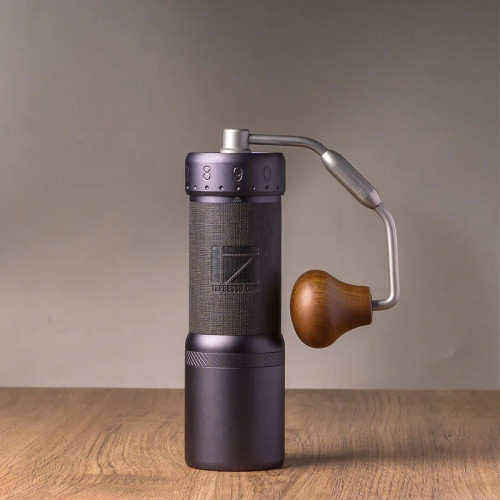


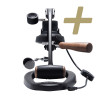
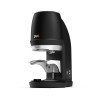
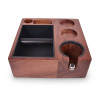
 Barista tools


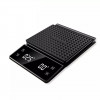
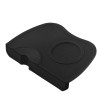
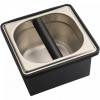


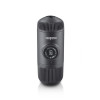
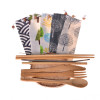
 Accessories


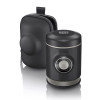
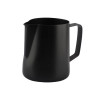
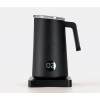 Milk frothers
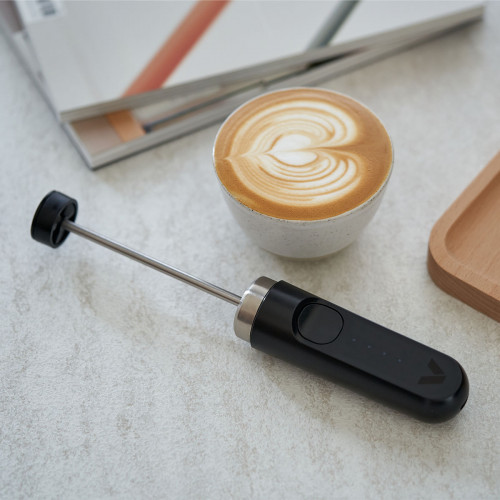
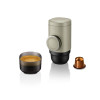
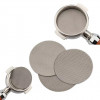
 Reusable coffee capsules


Expanded View
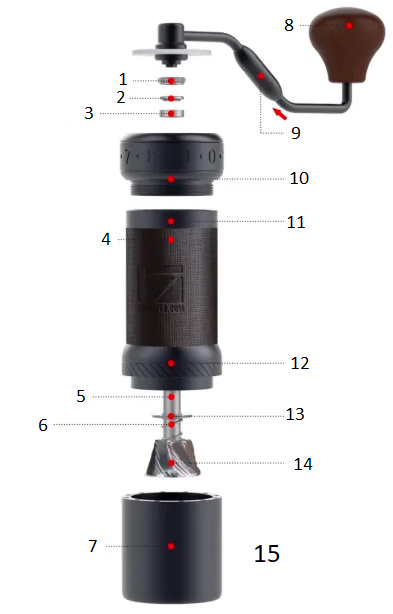 |
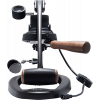
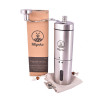
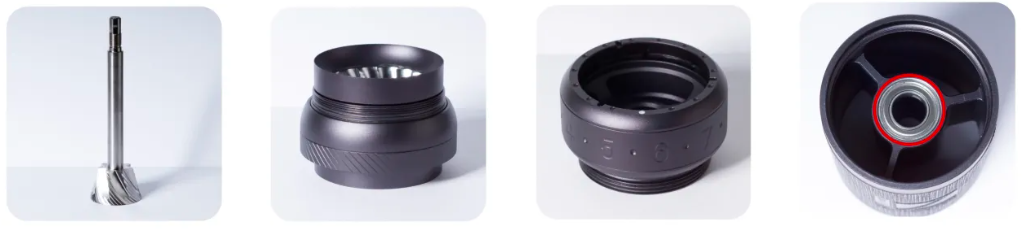
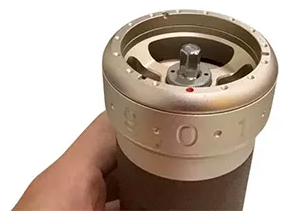
1. Knurled Thumb Nut 2. Upper Bearing Cap 3. Upper Bearing 4. Anti-Slip Silicone Leather The illustration is for reference only. The actual color may vary. 5. Central Shaft 6. Spring 7. Model Receiver 8. Crank Knob 9. Foldable handle Push up to fold. 10. Adjustment Dial Ring 11. Body 12. Burr Ring Unit 13. Lower Bearing Cap 14. Burr 15. Grounds Capacity: 35 - 40g (depending on the bean type) |
Do not wash or soak this product for cleaning!
User Instructions
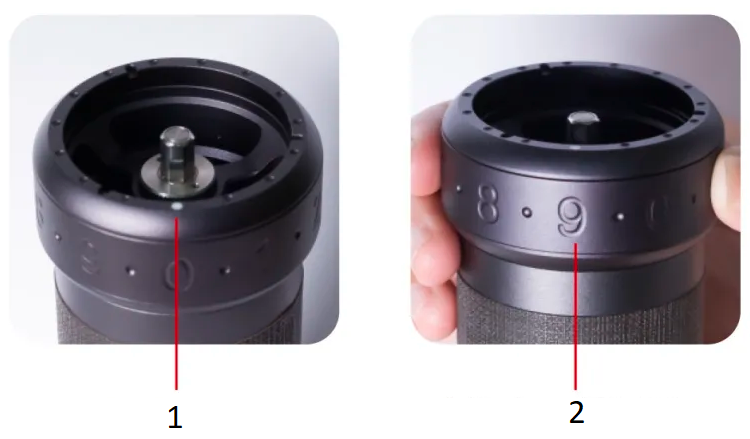 |
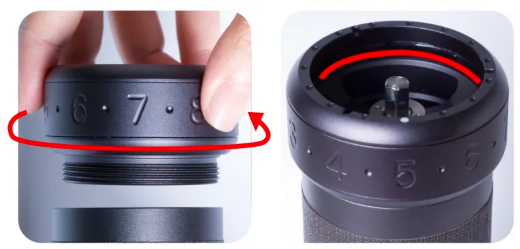
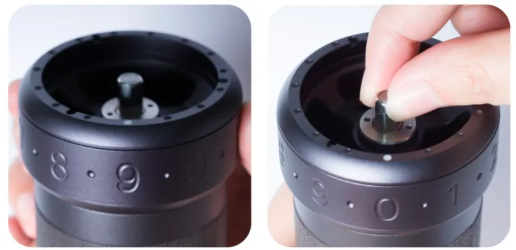
1. Dial Pointer 2. Adjustment Dial Ring |
- Turn the adjustment dial ring to set your preferred grind size. The dial pointer indicates the setting—higher numbers correspond to coarser grinds. Avoid overtightening the dial to prevent the grinder from getting stuck.
- The dial has 100 clicks per full rotation and can go above one rotation, with each click moving the burr by 0.02mm (20 microns).
- After reassembling the grinder, calibrate the adjustment dial ring according to the guide below.
- Check the grind setting tutorial post for recommended settings based on different brewing methods.
- Pour beans into the hopper and turn the handle clockwise to grind.
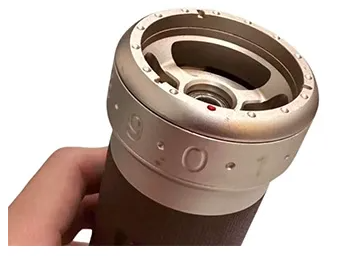
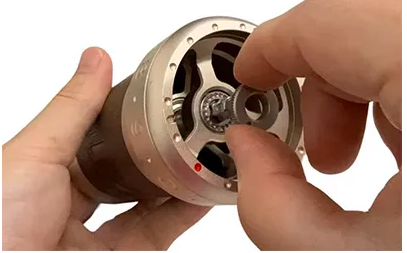
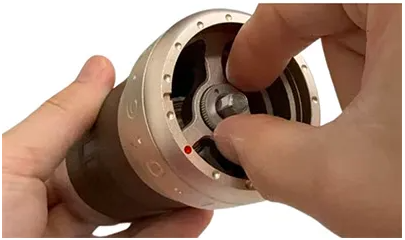
Disassembly
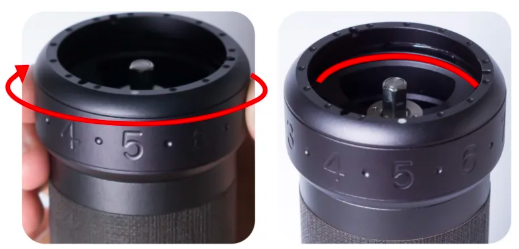 |
Turn the adjustment dial ring clockwise to coarser grind settings as the burrs open up. |
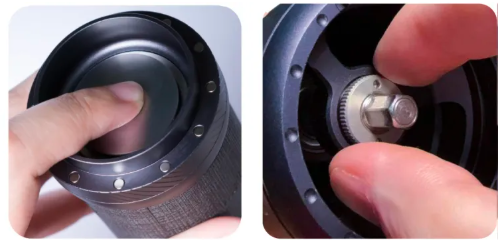 |
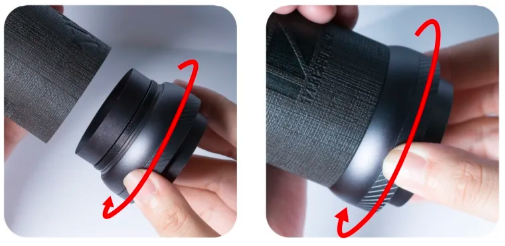
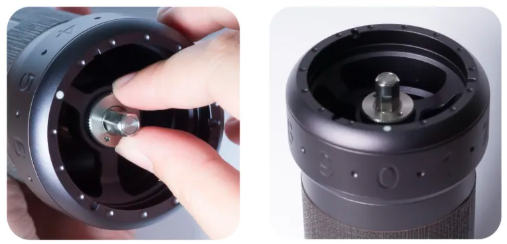
Loosen the knurled thumb nut by turning it counterclockwise while pushing the burr. Then, remove the upper bearing cap and upper bearing from the top. |
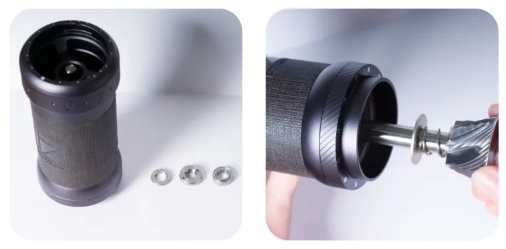 |
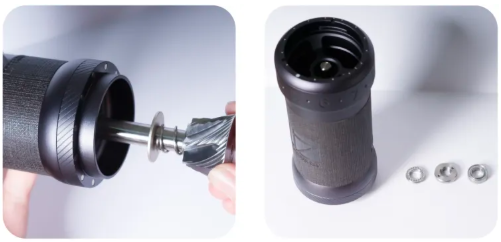
Remove the shaft, inner burr, lower bearing cover, and spring. |
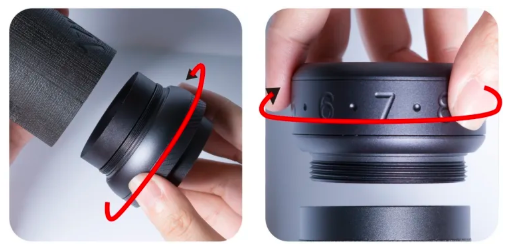 |
Detach the burr ring unit and the entire adjustment dial unit by turning it clockwise. Clean all parts using a brush and an air blower. |
Assembly
 |
Turn the entire adjustment dial unit counterclockwise to its tightest position. Rotate the adjustment dial ring clockwise to set a coarser grind setting.
|
 |
Turn the burr ring unit counterclockwise to its tightest position. |
 |
Insert the spring followed by the bearing cap (raised edge facing upward) onto the shaft, then place the shaft back into the grinder. |
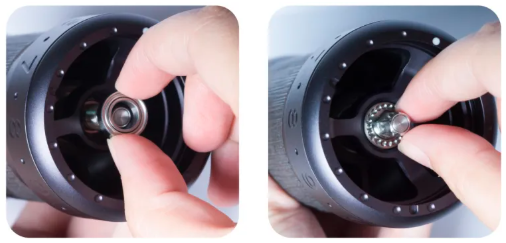 |
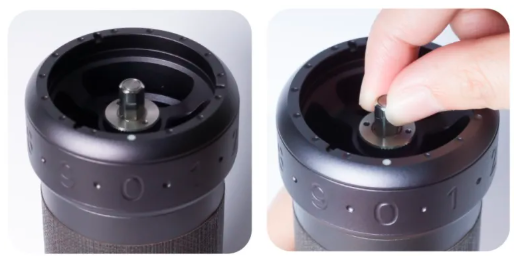
While pressing the burr, reinstall the upper bearing and upper bearing cap (dotted side facing upward). Ensure the bearing cap is placed correctly. |
 |
Turn the knurled thumb nut clockwise while pushing the burr, stopping when you feel resistance. Set the adjustment dial ring to zero and check if the indicator aligns with #0. If misaligned, refer to the calibration guide below. |
Warning: Do not further disassemble or remove the following parts:
1. Central shaft and inner / conical burr
2. The burr ring unit and outer burr
3. The adjustment dial ring
4. The bearings attached to the body
Adjustment Dial Calibration
- To calibrate the grinder, adjust the knurled thumb nut by either loosening or tightening it.
- The zero point is defined as the position where the handle begins to spin with resistance, not the absolute tightest position. Avoid overtightening the dial to prevent it from getting stuck.
- The zero point may be offset by two or more clicks due to the force applied when tightening the adjustment dial ring.
Instructions
 |
1. Find the Zero Point: Turn the adjustment dial ring counterclockwise until you feel resistance (the handle starts to spin with resistance), not the tightest position. This is the zero point. 2. Verify Alignment: The grinder is calibrated if the dial pointer aligns with #0 when the adjustment dial ring is at its zero point. 3. Adjust if Needed: If the dial pointer does not align with #0, follow the steps below to calibrate. Read the following steps for calibration if you don’t get #0 for the zero setting. |
 |
If the Dial Pointer is to the Right of #0: 1. Turn the adjustment dial ring clockwise to a coarser setting, increasing the gap inside. 2. Loosen the knurled thumb nut slightly by turning it counterclockwise while pressing the burr from the bottom. 3. Turn the adjustment dial ring counterclockwise back to the zero setting and check the dial pointer. Repeat as needed until properly calibrated. |
 |
If the Dial Pointer is to the Left of #0: 1. Turn the adjustment dial ring clockwise to a coarser setting, increasing the gap inside. 2. Tighten the knurled thumb nut slightly by turning it clockwise while pressing the burr from the bottom. 3. Turn the adjustment dial ring counterclockwise back to the zero setting and check the dial pointer. Repeat as needed until properly calibrated. |
Quick Calibration Method
 |
1. Before inserting the shaft with the inner burr, turn the dial counterclockwise all the way and align the dial pointer with zero. |
 |
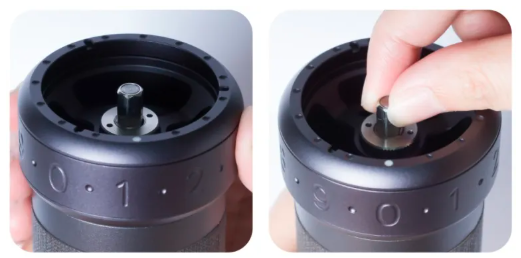
2. Place the shaft with the inner burr, bearing, bearing cap, and knurled thumb nut into the grinder. |
 |
3. Pressing the burr from the bottom until the burrs close up completely while tightening the knurled thumb nut. |
 |
4. Your grinder should now be calibrated. If the dial pointer still passes zero, loosen the adjustment dial clockwise slightly and repeat Step 3 until it aligns with zero. |
Foldable Handle
Warning: The handle will not be covered by warranty if any part is taken apart.
How to fold?
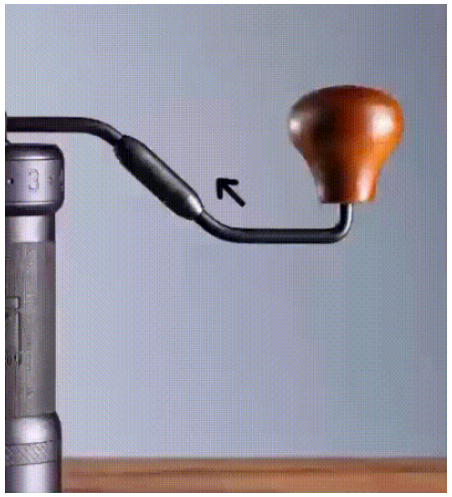
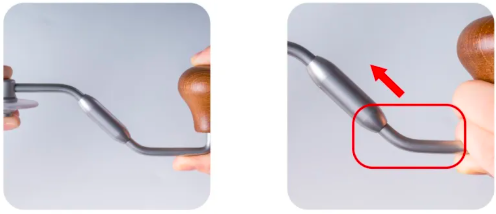 |
Hold the crank part near the wooden knob and push it in. |
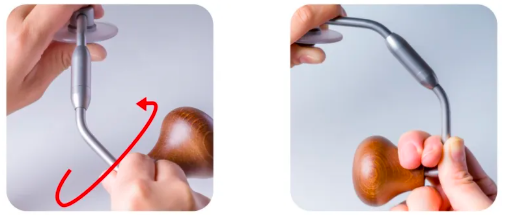 |
Turn the handle clockwise all the way to fold. |
How to unfold?
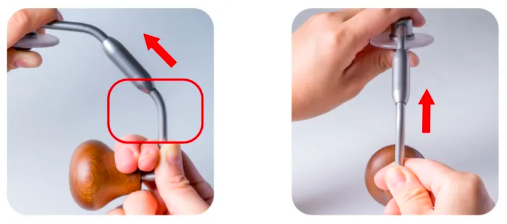 |
Hold the crank part near the wooden knob and push it in. |
 |
Turn the handle counter-clockwise all the way to unfold. |
Precautions
- Do not wash or clean the grinder with water.
- Store the grinder in a dry place to maintain its longevity.
- Follow the disassembly and reassembly instructions carefully, ensuring all parts are in the correct order and position.
- Keep out of reach of young children. This is not a toy and should be handled with care.
Warranty and how to use the product
Products are covered by the standard statutory warranty period. This warranty is non-transferable and financial compensation in cash is not possible. The warranty does not apply to products that have been used in a manner other than that specified in these instructions for use.
The warranty also does not cover:
- Damage resulting from improper use, neglect of care, or any other use for purposes not listed in this manual.
- Damage to appearance, damage caused by corrosion or gradual wear and tear.
Any intervention or repair by unauthorized persons results in the voiding of the product warranty.
Seller and importer: NajTrade s.r.o., Húskova 31, 04023 Košice, IČO: 50590502.
Related Products


