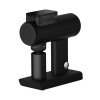
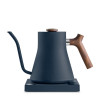
Flair 2GO Introduction
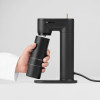
Welcome to the wonderful world of travel espresso, with the Flair 2GO! We’re so happy you’re here, and can’t wait to get you brewing delicious espresso. But, before we dive in, we wanted to mention a few things:
- Your Flair 2GO embodies espresso for all, and is designed to brew simple but delicious espresso. Getting started is easy, fun and delicious!
- You will have purchased either the “Grounds” or the “Pods” model. So please refer to the specific instructions for your model.
- More information can be found on our website via the QR codes. We feel video brewing guides are the best way to learn.
- Finally, we are here to support your espresso journey. If you encounter any challenges, please reach out to our world-class customer service team via the QR code on the last page.
QR Code for Video Tutorials
| Scan the code below to view video tutorials for your Flair 2GO. Seeing is believing and is the best way to learn to brew beautiful espresso with your GO, while on the GO. |
 |
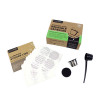
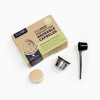
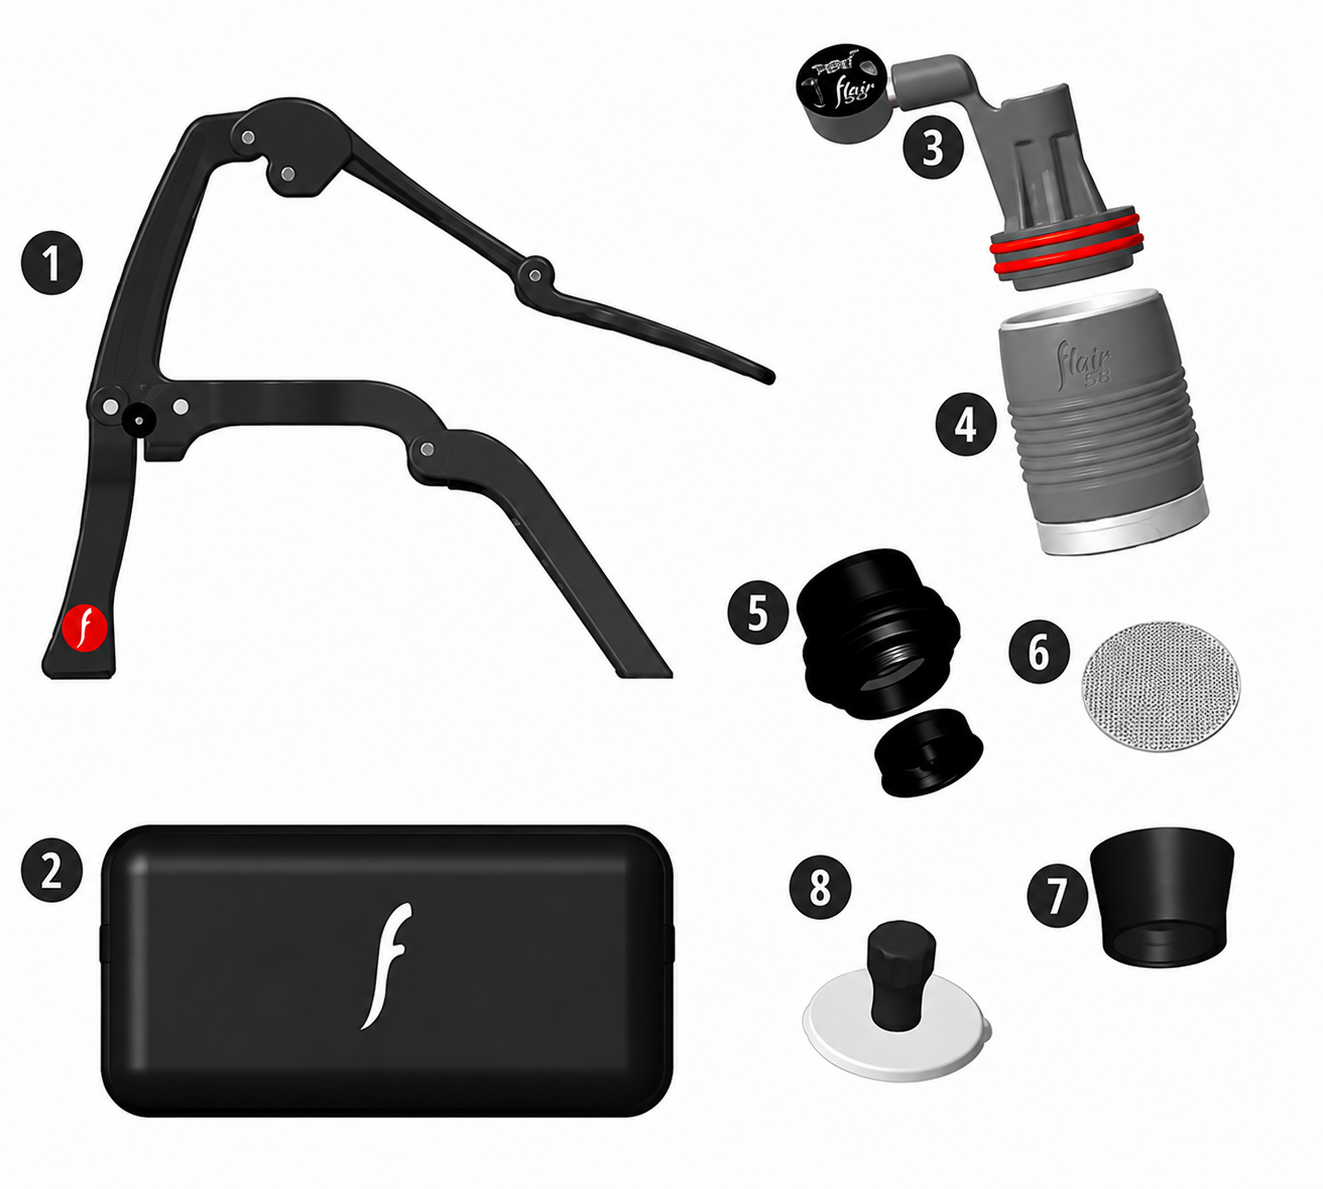
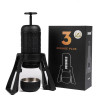
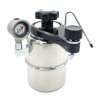
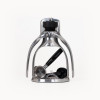
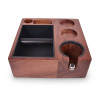
Included with All Flair 2GOs
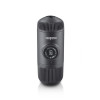
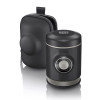
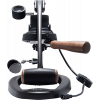
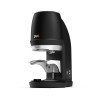
1. Foldable Flair 2GO Body
2. Flair 2GO Carrying Case
3. Piston with Pressure Gauge
4. No-Preheat Brew Cylinder
Included with Grounds Model
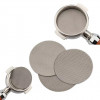
5. Bottomless 2-in-1 Portafilter
6. Stainless Steel Dispersion Screen - new etched version (found inside brew cylinder)
7. Dosing Funnel
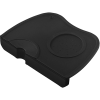
8. Flair 2GO Tamper
Included with Pods Model
9. Pod Portafilter
|
 |
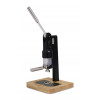
Espresso Maker Yoga: Unfolding Your GO with the Locking Mechanism
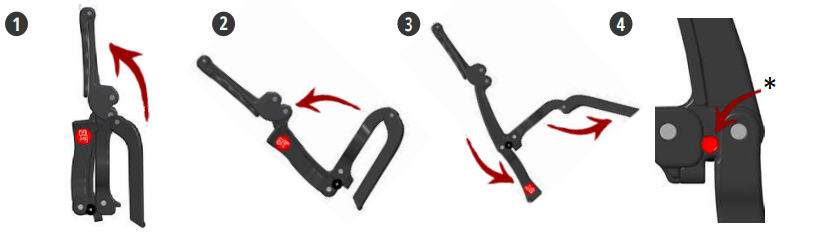
1. Logo Facing You & Upside Down - start with the Flair 2GO facing you, with the logo upside down. With your right hand, raise the lever up.
2. Switch Hands & Rotate the Lever - Put the legs in your right hand, and the lever in your left. Rotate the lever down, counterclockwise, until it stops.
3. Lower the Back Post & Legs - Lower the back post, with the logo, with your left hand. The black circular lock clicks into place. Lower the legs.
4. Release By Pushing Red Button - Release the lock by pushing the red button, then reverse the steps to fold up your Flair 2GO.
*Click to Release
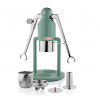
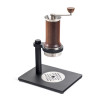
Brewing with the Flair 2GO: Grounds
|
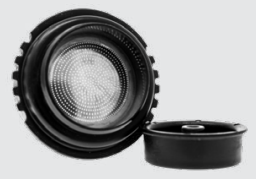
Bottomless Portafilter - Grounds Model
Brew Bottomless or with the Removable Spout
Requires a Quality Burr Grinder!
You will need to "dial-in", or trial different sized grounds until you get the right pressure. Grind too fine, and you won't be able to lower the lever. Grind too coarse, and the lever will lower without any resistance and not make espresso.
|
 |

1. Grind Your Freshly Roasted Beans - Grind 15 grams of fresh beans with an espresso capable burr grinder. Add to the portafilter with the dosing funnel.
2. Tamp on a Level Surface - Use the tamper to compress your grounds into the portafilter. Press firmly.
3. Add Dispersion Screen to Portafilter - Add the screen to the top of the portafilter, add place portafilter and screen on the GO frame.
4. Add Cylinder & Fill with Boiled Water - Add the No-Preheat Cylinder to the portafilter then fill with off boil water. Do not exceed the maximum fill line.
5. Insert Piston with Pressure Gauge - Add pressure gauge to top of cylinder. Rotate gauge up for best viewing.
6. Lower Lever Target 6-9 BAR - Target a 25 second extraction in the espresso zone, between 6 and 9 BAR.
7. Never Release Lever Abruptly! Boiling Water May SPRAY!
8. If Lever Is Extremely Hard To Lower, Coffee Grounds Are Too Fine (see gauge section).
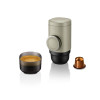
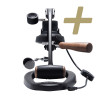
Brewing with the Flair 2GO: Pods
|
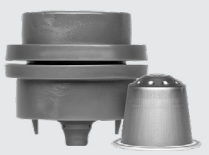
Pod Portafilter - Pods Model
Brew with Original Nespresso Pods
Will not Work with Vertuo or K-Cup Pods!
Your Pod portafilter has two halves, a top and a bottom, which rotate apart. The top has a fitted chamber for pods and the bottom has a foil breaking grid. Brew any shot size between 20-50ml by adding more or less water up to the maximum fill line.
|
 |

1. Rotate Pod Portafilter to Open - Using both hands, rotate the top and bottom halves away from each other until the two parts separate.
2. Add Pod Into Fitted Chamber & Close - Add the pod into the top fitted chamber with the foil facing out. Add the bottom and rotate to close. The side arrows will align when shut.
3. Add Pod Portafilter to Flair 2GO - Add the Pod portafilter to the Flair 2GO base. The nozzle should point down, while the flat surface points up.
4. Add Cylinder & Fill with Boiled Water - Add the No-Preheat Cylinder to the portafilter then fill with off boil water. Do not exceed the maximum fill line.
5. Insert Pressure Gauge - Add pressure gauge to top of cylinder. Rotate gauge up for best viewing.
6. Lower Lever, Target 4-7 BAR - Increase lever pressure until you feel the pod puncture. Lower lever targeting 4-7 BAR for 10-15 seconds.
7. WARNING: Inside of Pod portafilter is sharp - 8. Never Release Lever Abruptly! Boiling Water May SPRAY!
Being in the Espresso Zone: Using Your Gauge
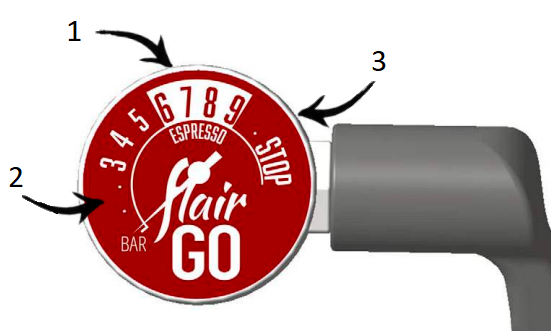
1. Right in the espresso zone - Congrats, you're brewing espresso! Your shot should last roughly 20-25 seconds if you're using the Bottomless portafilter, or 10-15 seconds if you're using the Pod portafilter.
2. Below the espresso zone - If you can't reach the Espresso Zone you can either grind finer, or increase the amount of force on the lever. If increased force doesn't work, you'll have to grind more finely.
3. Above the espresso zone - If you're above the Espresso Zone, you're either pressing too hard, or your grounds are too fine. Use coarser grounds or less force. Slowly ease off pressure if you hit the STOP!
* Note: If using pods, regulate your pressure through lever force only.
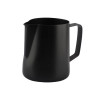
Cleaning Your Flair 2GO: Grounds
Follow the steps below. Cleaning your Flair 2GO should be done with water only. No soap is needed, as it can affect your espresso’s taste. Never put your GO parts in the dishwasher.
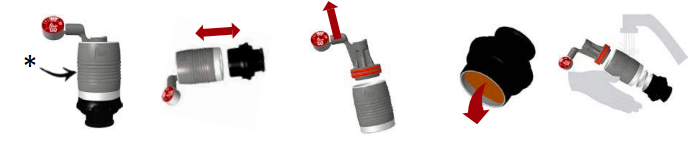
*Grip Here
1. Slowly lift lever and remove assembled Brew Head from GO frame, gripping the silicone where indicated above.
2. Detach portafilter over sink by pulling cylinder and portafilter apart. Hold horizontally to let water drain.
3. Remove piston by gripping to the right of the gauge and twisting and pulling out of the cylinder.
4. Remove screen, then eject grounds by knocking out against the side of a trash can, or dig out with a utensil.
5. Rinse all brewing parts with water from the tap. Don’t use soap as it will impact your espresso’s taste.
Cleaning Your Flair 2GO: Pods
Follow the steps below. Cleaning your Flair 2GO should be done with water only. No soap is needed, as it can affect your espresso’s taste. Never put your GO parts in the dishwasher.
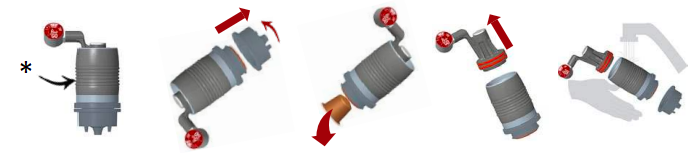
1. Slowly lift lever and remove assembled Brew Head from GO frame, gripping the silicone where indicated above.
2. Turn the cylinder with portafilter upside down. Twist to unlock and remove bottom of Pod portafilter.
3. Remove the used pod by tapping against the edge of a trash can. Leave top of pod portafilter in cylinder.
4. Remove piston by gripping to the right of the gauge and twisting and pulling out of the cylinder. Dump excess water.
5. Rinse all brewing parts with water from the tap. Don’t use soap as it will impact your espresso’s taste.
Other Info To Be A Flair 2GO PRO
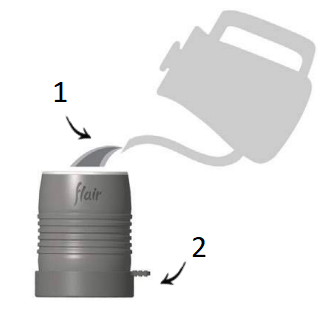
Preheating Your GO
|
Your Flair 2GO does not require preheating to get
a good espresso extraction. But, if you’re brewing with a light roast, or want an extra hot shot, you can preheat the cylinder. There are two methods we recommend.
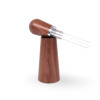
- Place your cylinder upright in a bowl or sink, and fill with boiled water. Let sit for 30 seconds. Carefully remove.
- Purchase Flair’s Preheat Cap or Funnel, and preheat your cylinder before brewing to maintain desired temperatures.
- Add boiled water, wait 30 seconds, then dump.
- Preheat Cap or Place in Bowl (Preheat Cap sold separately)
|
 |
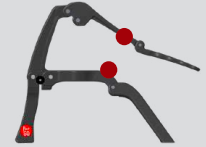
Expected Wear & Tear
Your Flair 2GO has multiple pivot and contact
points, when fully folded. Please be aware that
during the course of use, your Flair 2GO will show some wear in these contact points, shown by the red dots below. We see this as a badge of honor for a life well traveled with great espresso! |
 |
Troubleshooting your Flair 2GO
If you encounter any challenges with your Flair 2GO, Flair’s world-class customer service team is just a snap away. Scan the QR code to be taken to our contact page or type the url directly.

Warranty and how to use the product
Products are covered by the standard statutory warranty period. This warranty is non-transferable and financial compensation in cash is not possible. The warranty does not apply to products that have been used in a manner other than that specified in these instructions for use.
The warranty also does not cover:
- Damage resulting from improper use, neglect of care, or any other use for purposes not listed in this manual.
- Damage to appearance, damage caused by corrosion or gradual wear and tear.
Any intervention or repair by unauthorized persons results in the voiding of the product warranty.
Seller and importer: NajTrade s.r.o., Húskova 31, 04023 Košice, IČO: 50590502.
 AT
AT  Portable coffee makers
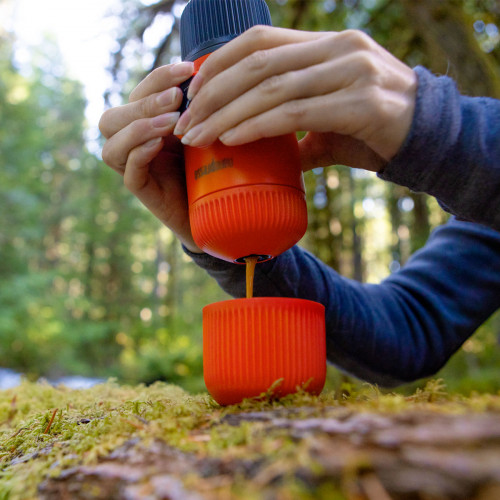


 Special coffee makers


 Coffee grinders


 Barista tools


 Accessories


 Milk frothers
 Reusable coffee capsules