 AT
AT  Portable coffee makers
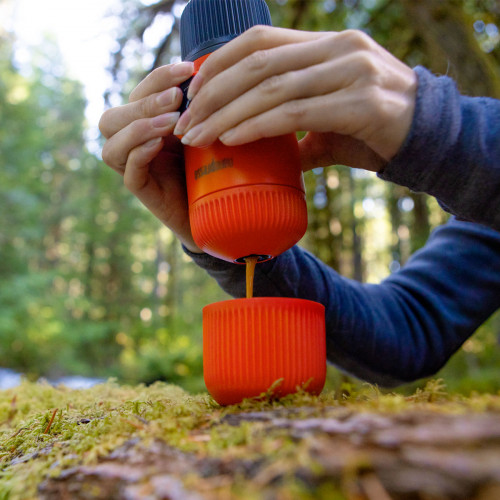


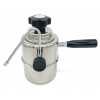
 Special coffee makers


 Coffee grinders
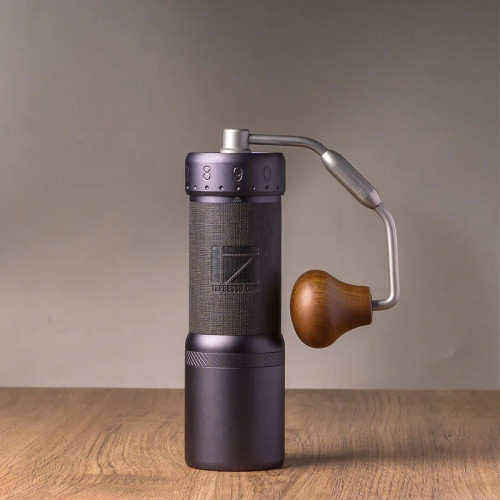


 Barista tools
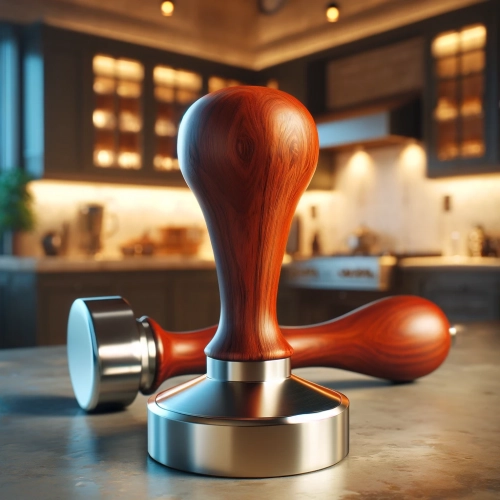


 Accessories
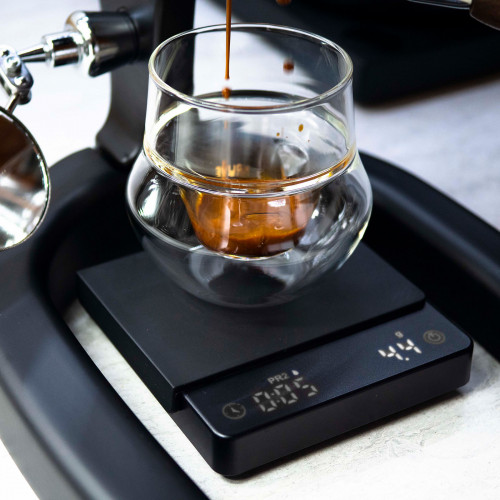


 Milk frothers
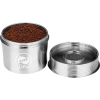 Reusable coffee capsules


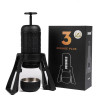
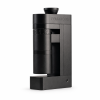
PRO 3 Introduction
Welcome to the wonderful world of home espresso, with the Flair PRO 3.
As a company, Flair Espresso first started as a Kickstarter project aimed at offering a simple,
affordable home lever espresso maker, and has continued to grow into a full catalogue
of thoughtful espresso-centric products. We pride ourselves on our continued expansion,
fueled by innovation and the desire to make espresso accessible for all.
We are so happy you’re here, and can’t wait to get you started brewing delicious shots for
yourself and your loved ones. But, before we dive in, we wanted to mention a few things:
- To get a good espresso extraction, you’ll need to use freshly roasted beans, and to grind them with an espresso capable burr grinder.
- More information can be found on our website via the QR codes. We feel video brewing guides are the best way to learn.
- Finally, we are here to support your espresso journey. If you encounter any questions or challenges, please reach out to our world-class customer service team. We are always available to help however possible.
Video Brewing Tutorial:
The Best Way To Learn Is By Watching

Video Tutorials: https://flairespresso.com/flair-pro3-tutorials/
Contact Flair: https://flairespresso.com/contact/
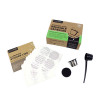
Parts, Bits & Goodies For Brewing Great Espresso
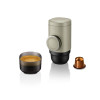
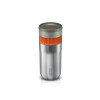
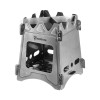
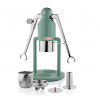
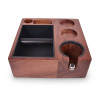
Main Items Included In Your PRO 3
|
 |
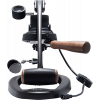
Set-Up Faster Than You Can Say Espresso
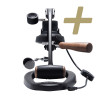
Putting Your Frame Together in Two Steps
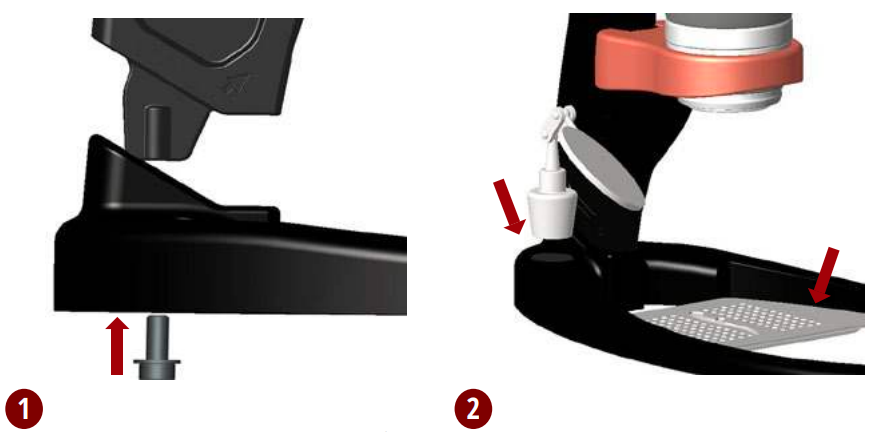
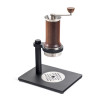
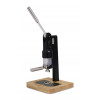
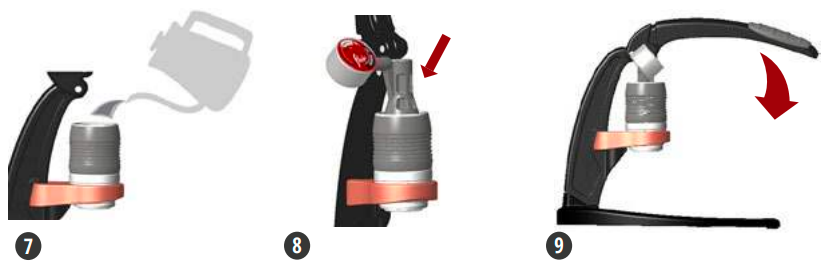
- Your Flair Post and Base must be assembled using the included bolt. Lower the post into base and screw bolt into the threads. Tighten with included hex key.
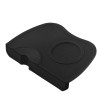
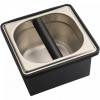
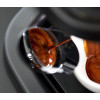
- Add your shot mirror to the circular magnetic coin on the left side of the base. Insert your Stainless Steel Drip Tray onto the base...then you’re ready to go!
Being In The Espresso Zone
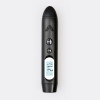
Using And Understanding Your Pressure Gauge
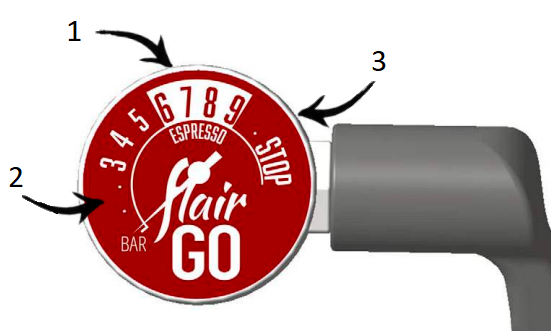
How To Dial-In Your Shot Using Your Gauge
Easy Changes for Better Espresso
|
BREW TIME |
PRESSURE | ||||
| 1-5 BAR | 6-9 BAR | 10-12 BAR | >12 BAR | ||
| More Than 45 Seconds |
More Pressure |
Grind More Coarse |
Grind More Coarse |
DANGER! STOP & DISCARD GROUNDS |
|
|
30-45 |
Grind More Fine |
Espresso Made Right |
Grind More Coarse |
||
|
Less Than 30 Seconds |
Grind More Fine |
Grind More Fine |
Less Pressure |
||
You're Seconds Away From Handcrafted Espresso
Brewing Your First Espresso Shot
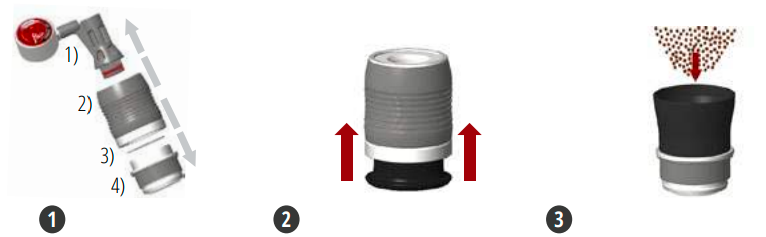
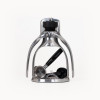
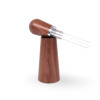
1. Separate Your Brew Head - Separate into four parts: 1) Piston 2) Brew Cylinder with Plunger 3) Screen 4) Portafilter.
2. Ensure Plunger is at Top of Cylinder - Use the dosing cup to slide the plunger to the top of the brew cylinder.
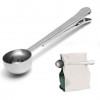
3. Prepare your Freshly Roasted Beans - Grind 15-17 grams of beans with a burr grinder and add to portafilter.
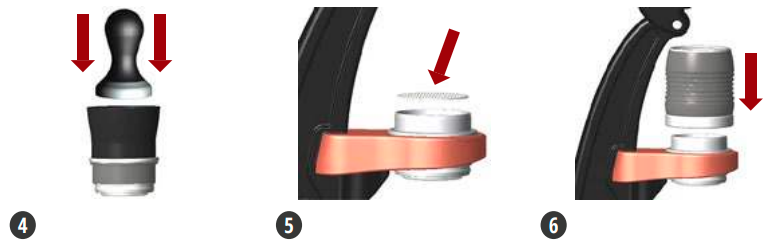
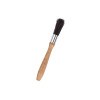
4. Tamp Lightly on a Level Surface - Using the tamper, compress the grounds evenly.
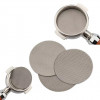
5. Add Dispersion Screen to Portafilter - Add the portafilter to the PRO 3 frame and place the screen on top.
6. Add Brew Cylinder to Portafilter - Press your cylinder onto the portafilter. No preheat required.
7. Fill Cylinder with Boiled Water - Fill your PRO 3 cylinder through the plunger with just boiled water.
8. Insert Pressure Gauge - Add pressure gauge to top of plunger. Rotate gauge up for best viewing.
9. Lower the Lever: Target the Espresso Zone - Target a 30-40 second extraction in the espresso zone.
Warning:
- Never Release Lever Abruptly! Boiling Water May SPRAY!
- If Lever Is Extremely Hard To Lower, Coffee Grounds Are Too Fine
Sparkling Espresso, Day After Day
Cleaning Your PRO 3
Follow the steps below. Cleaning your Flair PRO 3 should be done with water only. No soap is needed as it can affect your espresso’s taste. Never put your PRO 3 parts in the dishwasher.
*Grip Here
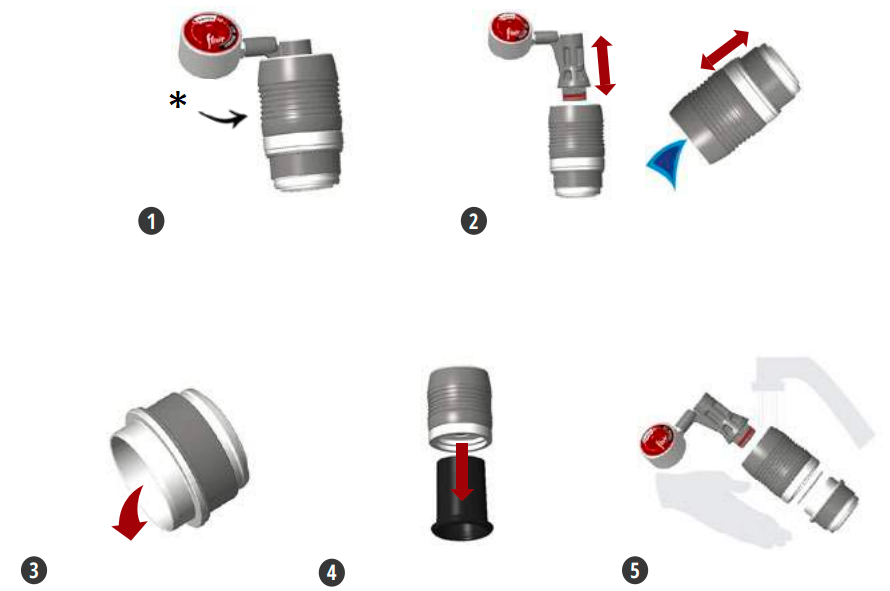
- Slowly lift lever and remove assembled Brew Head from the PRO frame, gripping the silicone where indicated above.
- Remove the gauge stem and pour any excess water into the sink. Then pull portafilter and cylinder apart by gripping silicone.
- Remove screen and knock grounds out into a trash can, or dig grounds out with a blunt utensil.
- Reset the plunger using the dosing cup. Place cylinder over dosing cup and press down.
- Rinse all brewing parts with water from the tap. Leave to dry before reassembling.
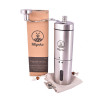
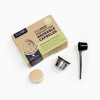
Not All Grinders Are Created Equal
Ensuring Proper Grinding for Perfect Espresso
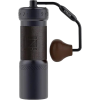
| One of the most common challenges new Flair-istas experience is a lack of pressure while brewing. This is almost always due to coffee grounds that were not ground fine enough with an espresso capable burr grinder. Blade grinders and pre-ground coffee will almost never provide good results with your PRO 3. If you’re having trouble, please reach out to our customer service team who can advise if you will need a grinder upgrade! | 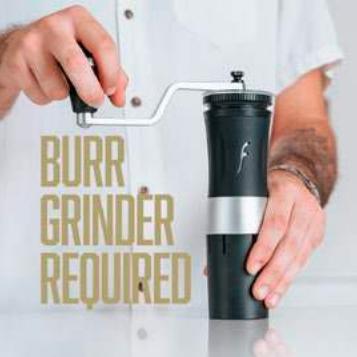 |
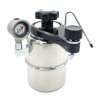
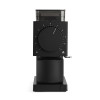
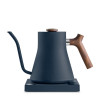
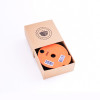
Some Like It Hot!
Optional Preheating for Light Roasted Coffee
|
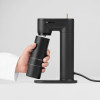
Your PRO 3 comes with a Preheat Funnel, which fits into your kettle. If you’d like to preheat your cylinder, to ensure a higher temperature extraction, add the Preheat Funnel to your kettle before heating your brew water. Then, place the cylinder in the funnel and leave it as your water heats. Remove the cylinder carefully when done and add to your prepared portafilter. Then add your brew water and brew! CAUTION: The cylinder will be hot and should be removed with a towel. |
 |
Flair's World-Class Customer Service Is a Snap Away
Troubleshoot Your PRO 3

Reach Us Directly: https://flairespresso.com/contact/
Warranty and how to use the product
Products are covered by the standard statutory warranty period. This warranty is non-transferable and financial compensation in cash is not possible. The warranty does not apply to products that have been used in a manner other than that specified in these instructions for use.
The warranty also does not cover:
- Damage resulting from improper use, neglect of care, or any other use for purposes not listed in this manual.
- Damage to appearance, damage caused by corrosion or gradual wear and tear.
Any intervention or repair by unauthorized persons results in the voiding of the product warranty.
Seller and importer: NajTrade s.r.o., Húskova 31, 04023 Košice, IČO: 50590502.
Related Products

 | Flair espresso")
 | Flair espresso")

