 AT
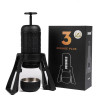
AT  Portable coffee makers
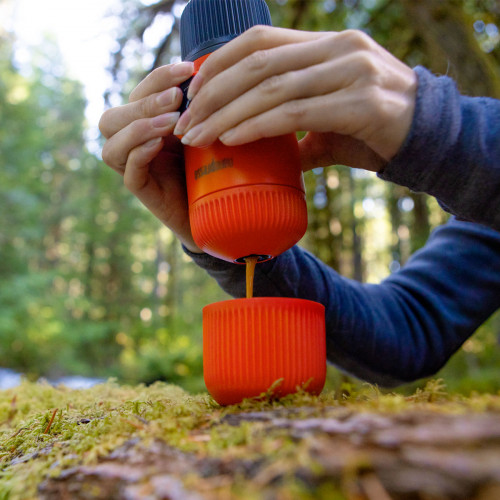


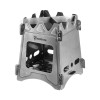
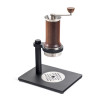
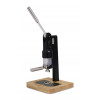
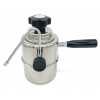
 Special coffee makers


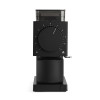
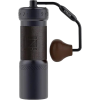 Coffee grinders
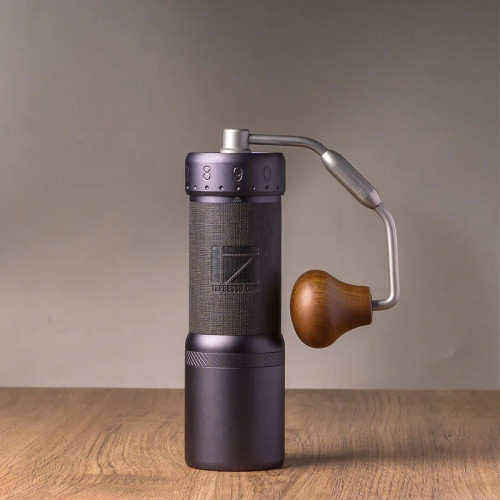


 Barista tools
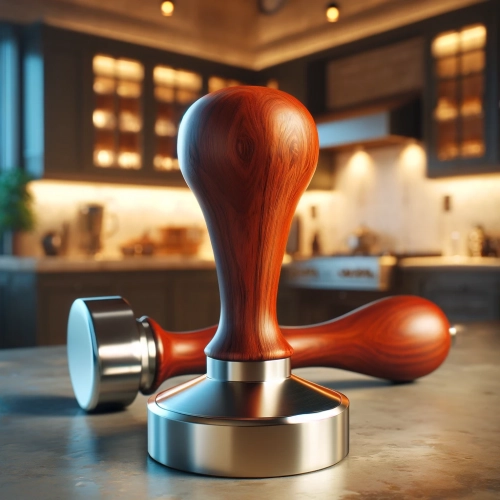


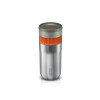
 Accessories
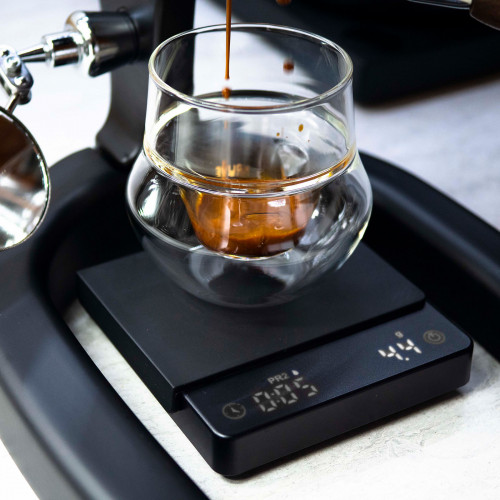


 Milk frothers
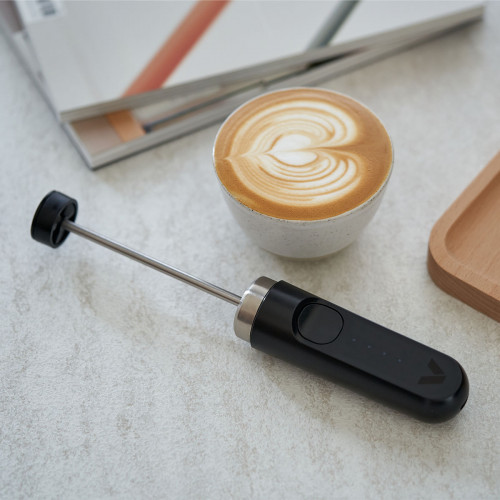
 Reusable coffee capsules


Your Espresso, With Milk
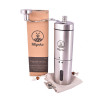
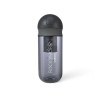
Wizard Steamer Introduction
Welcome to the world of milk-based espresso beverages, with the Wizard Steamer.
As a company, Flair Espresso started with the goal of offering a simple, affordable, home
lever espresso maker, and has continued to grow into a full catalogue of thoughtful
espresso-centric products. We pride ourselves on our continued expansion, fueled by
innovation and the desire to make espresso accessible for all.
Before we dive in, we wanted to mention a few things:
- Your Wizard Steamer embodies the handcrafted nature of manual espresso, bringing the ability to steam milk direct to your stovetop, no electricity needed.
- More information can be found on our website via the QR codes. We feel video guides are the best way to learn.
- Finally, we are here to support your espresso journey. If you encounter any questions or challenges, please reach out to our world-class customer service team. We are always available to help in any way.
Video Brewing Tutorial
 |
The Best Way To Learn Is By Watching Video Tutorials: https://flairespresso.com/wizard-steamer-tutorials/ |
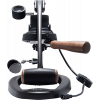
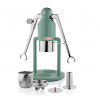
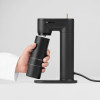
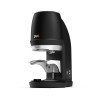
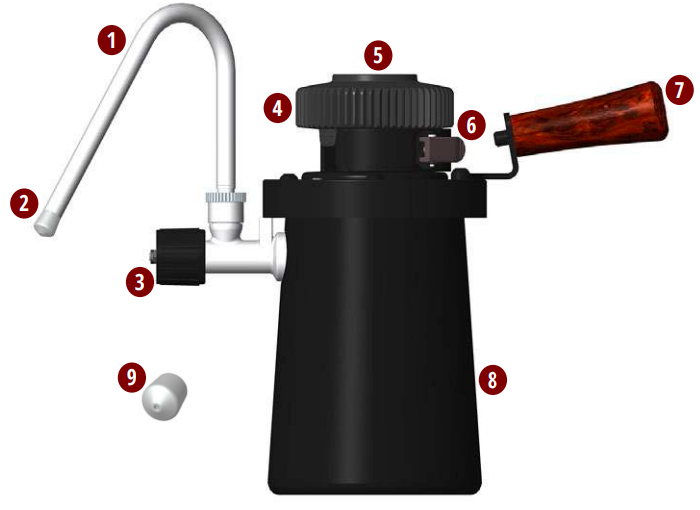
What's In a Wizard
Notable Parts of Your Wizard Milk Steamer
 |
|
Setup, Faster Than Abracadabra
Just Three Steps To Get Your Wizard Ready to Steam
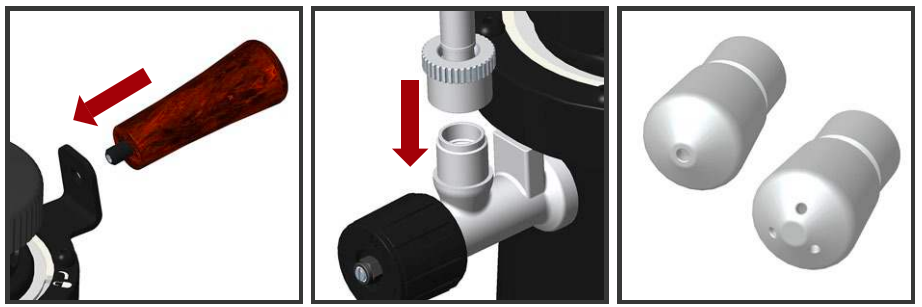
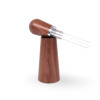
1. Attach Your Walnut Handle - Screw your Walnut Handle into the arm on the side of your steamer. Hand tighten only. Wizard steamer logo on the end of handle should be pointing up!
2. Attach Your Cool Touch Wand - Screw the wand onto the body of the steamer, making sure no threads are visible. Ensure plastic o-ring is nested into the base of the wand for correct attachment.
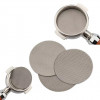
3. Choose a Nozzle (1 vs 3-hole) - The 1-hole Nozzle is good for beginner latte artists. It features lower steam power & volume than the 3-Hole nozzle. Select and screw your nozzle onto the wand.
Your First Steam
You're Seconds Away From Great Steamed Milk
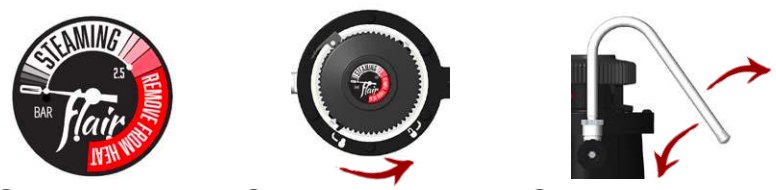
1. Ensure Your Steamer is Cool - Never open or fill your steamer if hot or the gauge reads any pressure.
2. Open Top and Add Water - Don't Overfill - Turn top 1/4 turn from the lock to unlock symbol. Fill to mid line. Don't overfill.
3. Orient Your Wand in Preferred Location - Your wand swivels 270°. Choose preferred wand placement before heating.

4. Place Over Heat Source - Use multiple heat sources: gas, electric coil, glass top, and induction,
5. Add Cold Milk to Jug (not included) - Use cold milk. Whole milk is best. Do not fill jug more than 50% to leave room to expand.
6. Monitor Steaming Range - Ready when in Steaming Range. Timing varies based on heating method.
7. Steam Milk to 60°C - (Tips on Next Page) Open Steam Valve 1/4 turn to purge. Close, then insert wand into milk & steam.
8. Wipe Wand, Purge & Remove from Heat - Set jug aside. Wipe milk from wand with a damp cloth and purge wand.
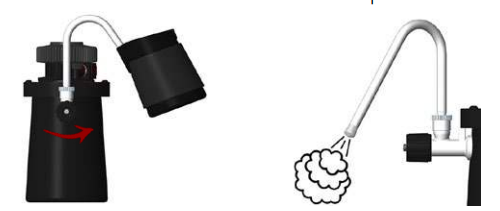
Automatic Purge Valve
Purge valve will release excess pressure automatically. Press valve to close. Or flip open and closed manually, as needed.
Milk Steaming Tips and Tricks
Be A Milk Steaming Wizard
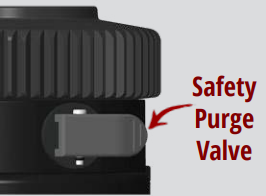
1. Steam Wand Placement In Jug - Use the inside spout of the milk jug to act as a guide. The wand should nestle in the spout of the jug. Then tilt your jug 15° right or left for perfect placement.
2. Depth Of Steam Wand Tip - When steaming, the tip of your wand should not be deeper than the seam on the nozzle. Seam is always visible. Placing deeper will provide poor results and badly steamed milk!
3. 1st Steaming Stage (Bubbles) - When you start steaming, lower the jug so only the very tip of the nozzle is submerged. In this stage you are blowing air into the milk, and you should hear air rushing.
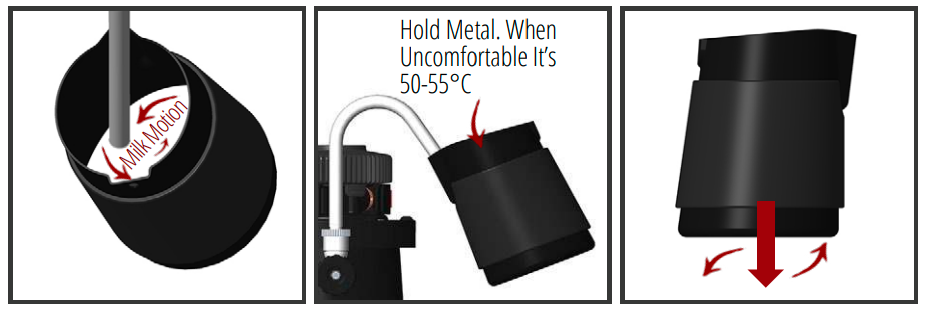
4. 2nd Steaming Stage (Whisking) - After creating enough bubbles, raise the jug so the nozzle is fully submerged to the seam. This will create a whirlpool to ''whisk'' the bubbles into your milk.
5. Reaching Temperature Of 60°C - If you don't have a thermometer, hold the metal of the jug in your hand. When it's unfomfortable to hold, you've reached 50-55°C. Steam for another five seconds.
6. Tap And Swirl Steamed Milk - After steaming, set your jug aside to allow big unwanted bubbles to weaken. Then tap your jug on the counter to break them, and swirl milk until it appears glossy.
Note: Above 68°C (155°F) the proteins in milk will ''cook'' and won't create microfoam. Don't steam above 65°C.
Using Alternate Milks
Tips for Oat, Soy and Almond Milk
1. Oat Milk Steaming Tips
- Sweeter than soy or almond milk
- Barista blend oat milks are best
- Low protein means you can heat up to 65°C without curdling
- Longer steaming time needed
- Can take on big bubbles, so reduce the amount of air you blow in during the first stage
2. Soy Milk Steaming Tips
- Works best with darker roasted beans with low acidity
- Risk of curdling with light roasted coffees
- High protein means you can only heat to 55°C
3. Almond Milk Steaming Tips
- Difficult to steam, look for barista blends for best results
- Can take on big bubbles, so reduce the amount of air you blow in during the first stage
- Usually thinner, resulting in less microfoam
- Heat up to 60°C
Guide To Great Steamed Milk Drinks
Solving the Mystery of a Flat White vs Cappuccino

1 - Espresso
2 - Steamed Milk
3 - Foam

Safety First
Adhere to These Warnings for Safe Operation
- If your Wizard Steamer appears to be leaking anywhere but the relief valve or the steam wand, discontinue use immediately and contact Flair’s customer service
- Always ensure your Wizard Steamer has been removed from heat, purged, and sufficiently cooled before opening the top cap.
- Contents of your Wizard Steamer will be extremely hot and pressurized.
- Do not store your Wizard Steamer in below-freeing temperatures. Residual water inside the unit can freeze and crack the body, wand or other elements, causing leaks and an inoperable unit.
- Keep the Wizard Steamer away from children and those unaware of proper operation when hot and cool.
- Do not carry the Wizard Steamer when hot, when there is any pressure registering on the gauge, or before you’ve purged excess steam. The steamer must be cool, purged and read no pressure before transporting.
- Be mindful of the Wizard Steamer when heated and under pressure. Steam is extremely hot and can cause burns if not operated properly.
- Do not drop your Wizard Steamer. If a drop occurs - and the body is dented or damaged - discontinue use right away and contact Flair’s customer service team.
- Purge your Wizard Steamer when the safety valve is activated.
- Do not overfill your Wizard Steamer. Adhere to the Min and Max lines on the inside of the steamer.
- When your Wizard Steamer is hot, do not touch any part of the body except the wooden handle. Use this handle only when removing from heat.
- Your Wizard Steamer features a Cool Touch Wand. This wand may still be hot when in use. Use caution!
Flair's World-Class Customer Service Is a Snap Away
Troubleshoot Your Wizard Steamer

Reach Us Directly: https://flairespresso.com/contact/
Warranty and how to use the product
Products are covered by the standard statutory warranty period. This warranty is non-transferable and financial compensation in cash is not possible. The warranty does not apply to products that have been used in a manner other than that specified in these instructions for use.
The warranty also does not cover:
- Damage resulting from improper use, neglect of care, or any other use for purposes not listed in this manual.
- Damage to appearance, damage caused by corrosion or gradual wear and tear.
Any intervention or repair by unauthorized persons results in the voiding of the product warranty.
Seller and importer: NajTrade s.r.o., Húskova 31, 04023 Košice, IČO: 50590502.

