 AT
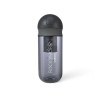
AT  Portable coffee makers
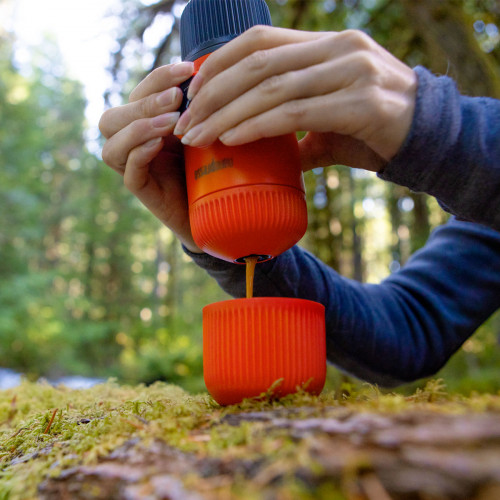


 Special coffee makers


 Coffee grinders
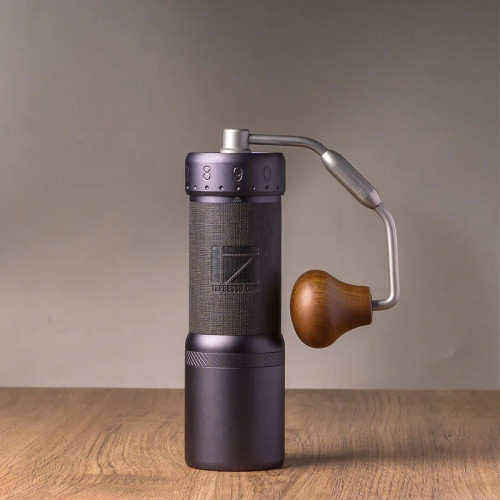


 Barista tools


 Accessories


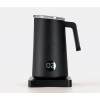 Milk frothers
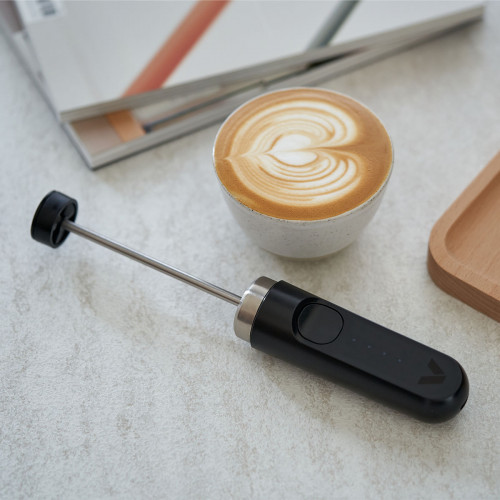
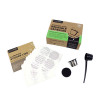
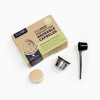
 Reusable coffee capsules


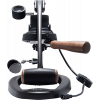
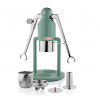
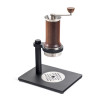
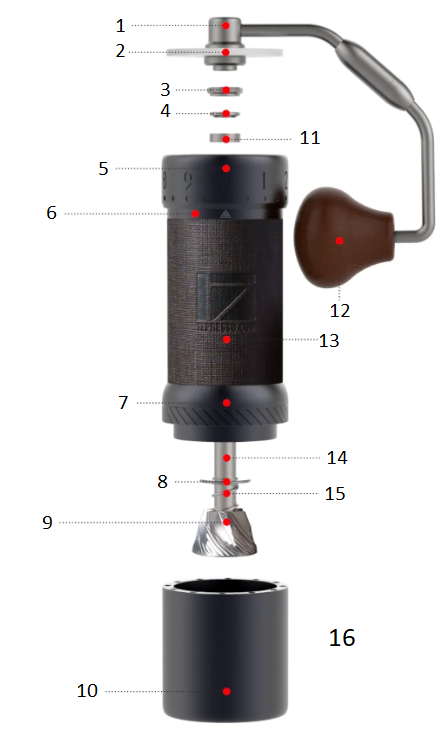
Expanded View
 |
(Depending on the bean type) |
User Instructions
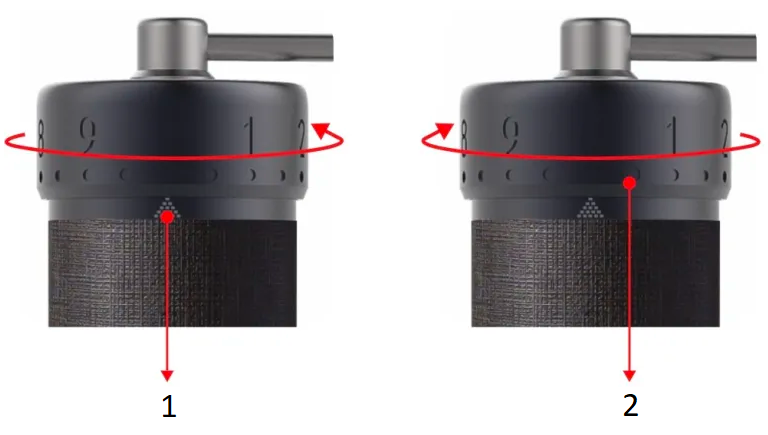
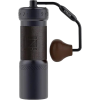
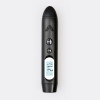
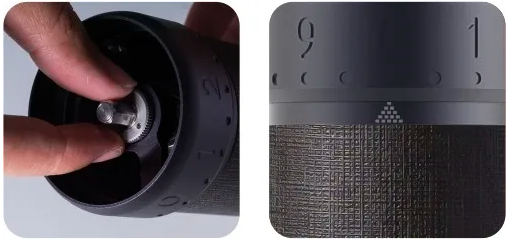
- Scale Mark
- Adjustment Dial Ring
Adjusting the Grind Setting
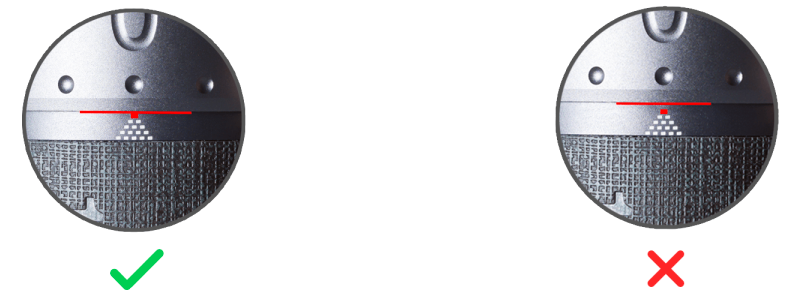
- The grinder is ready to use out of the box. Turn the adjustment dial ring counter-clockwise all the way to the starting point where the resistance starts and the crank handle can’t spin freely. The #0 will be aligned with the scale mark and the bottom edge of the adjustment dial ring will touch the first tier of the scale mark.
- The pyramid-shaped scale mark consists of multiple squares that indicate how many rotations you are at, and it gets smaller while you set coarser settings.
- There are five rotations in total. 100 clicks in a single rotation and each click moves the burr by 0.008mm/8 microns.
- Refer to the Grind Setting Reference chart below and turn the adjustment dial ring clockwise to dial in.
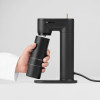
- Attach the rubber band to the grinder for a better grip.
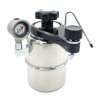
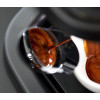
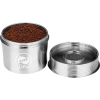
- Put coffee beans in the hopper and turn the handle clockwise to start grinding.
- Follow the guide to calibrate the grinder after disassembling and reassembling the grinder.
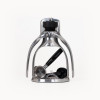
Disassembly
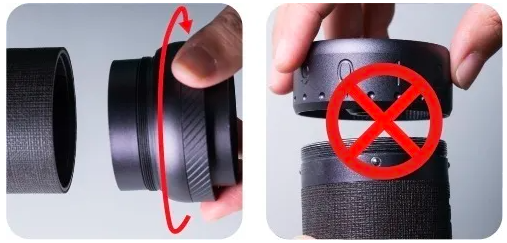
Warning: Do not loosen the burr ring unit before step 3.
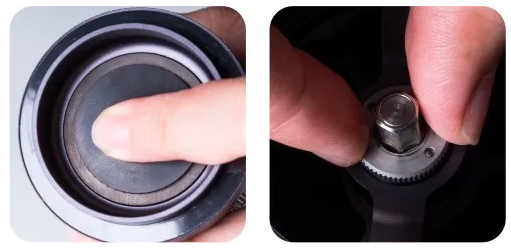 |
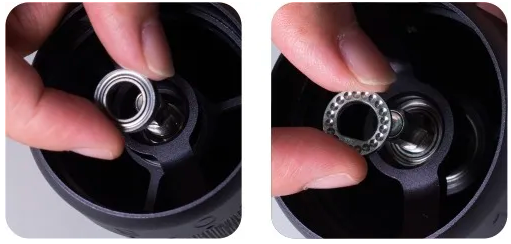
Turn the adjustment dial ring clockwise by around two rotations and remove the knurled thumb nut counter-clockwise while pressing the burr. |
 |
Remove the upper bearing cap and upper bearing. |
 |
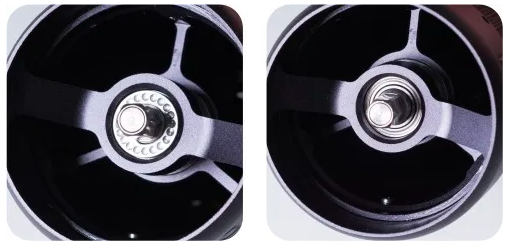
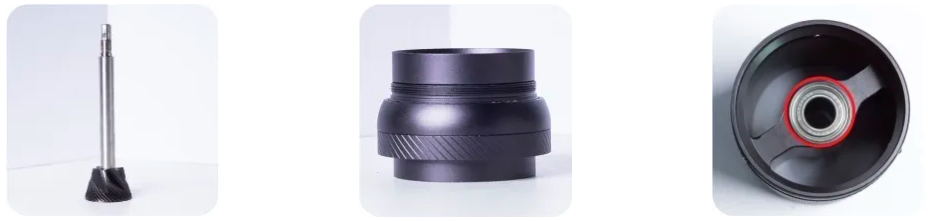
Remove the burr and central shaft, spring and lower bearing cap. |
 |
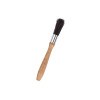
Turn the burr ring unit forward (reverse threads). Disassembling the adjustment dial ring is not suggested. Do not clean the grinder with water. Cleaning with a brush and blower is recommended. |
Assembly & Calibration
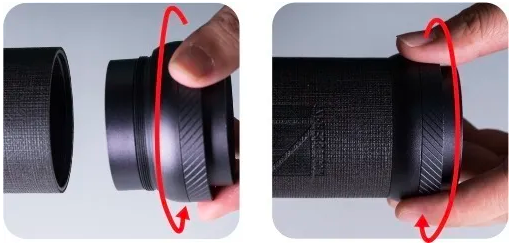 |
Turn the burr ring unit backward (reverse threads) to the tightest position. |
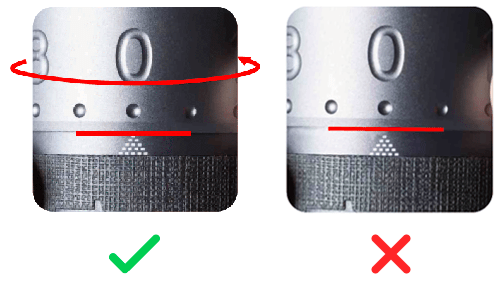 |
Align the #0 with the scale mark and the bottom edge of the adjustment dial ring touches the first tier of the scale mark. |
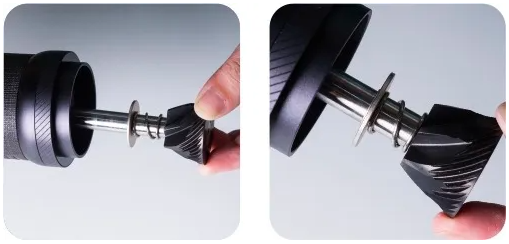 |
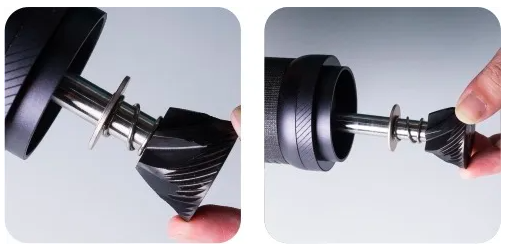
Put the components back in the right sequence: lower bearing cap (the raised edge side facing upward), spring, shaft and burr. |
 |
Put the upper bearing back from the top. While pressing the burr from the bottom, put the upper bearing cap back. The side with concave dots faces upward, and the U-shaped hole fits the shaft properly. |
 |
Tighten the knurled thumb nut to calibrate the grinder while pressing the burr from the bottom. Note: There are four and a half rotations in total counted from the starting point. The starting point might be different within ±10 clicks due to the strength you tighten the nut and dial. |
Warning
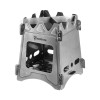
Do not attempt to disassemble or remove the following components any further:
- The central shaft and the burr
- The burr ring unit
- The bearings
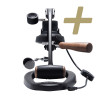
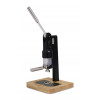
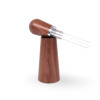
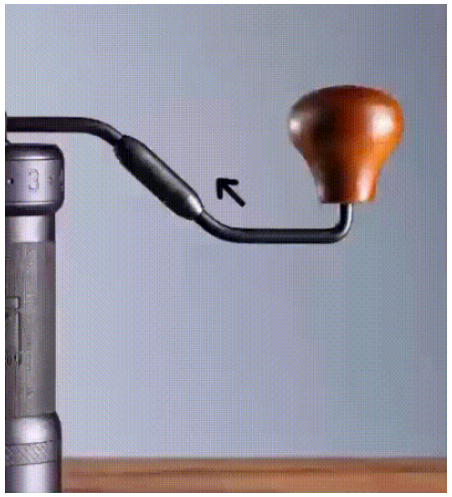
Foldable Handle
Warning: The handle will not be covered by warranty if any part is taken apart.
How to fold?
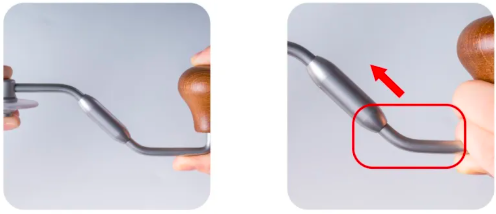 |
Hold the crank part near the wooden knob and push it in. |
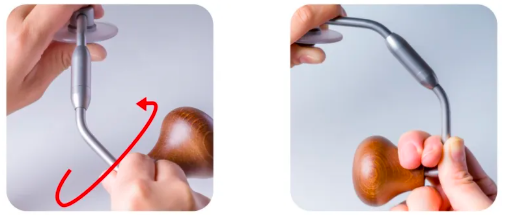 |
Turn the handle clockwise all the way to fold. |
How to unfold?
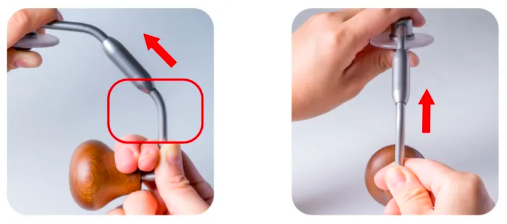 |
Hold the crank part near the wooden knob and push it in. |
 |
Turn the handle counter-clockwise all the way to unfold. |
Precautions
- Do not clean and wash the grinder with water.
- Do not wipe your grinder with solvents other than water and alcohol.
- Keep it in a dry environment in order to extend its lifetime.
- Follow the instructions of re-assembly, ensure to place the components into the correct positions.
- Keep the grinder away from children for safety concerns.
Warranty and how to use the product
Products are covered by the standard statutory warranty period. This warranty is non-transferable and financial compensation in cash is not possible. The warranty does not apply to products that have been used in a manner other than that specified in these instructions for use.
The warranty also does not cover:
- Damage resulting from improper use, neglect of care, or any other use for purposes not listed in this manual.
- Damage to appearance, damage caused by corrosion or gradual wear and tear.
Any intervention or repair by unauthorized persons results in the voiding of the product warranty.
Seller and importer: NajTrade s.r.o., Húskova 31, 04023 Košice, IČO: 50590502.
Related Products


