 AT
AT  Portable coffee makers
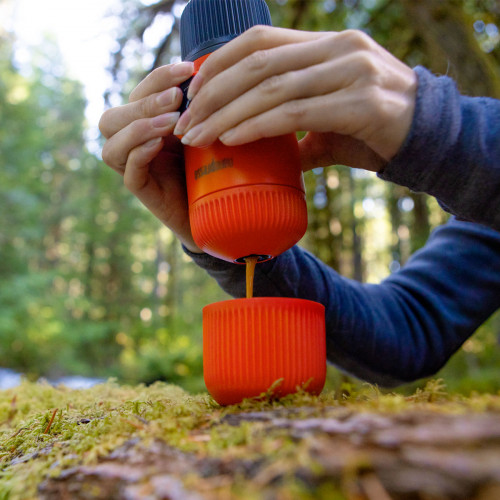


 Special coffee makers


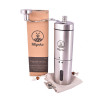
 Coffee grinders
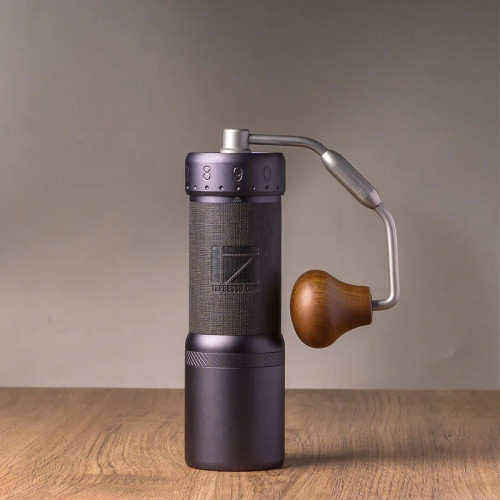


 Barista tools
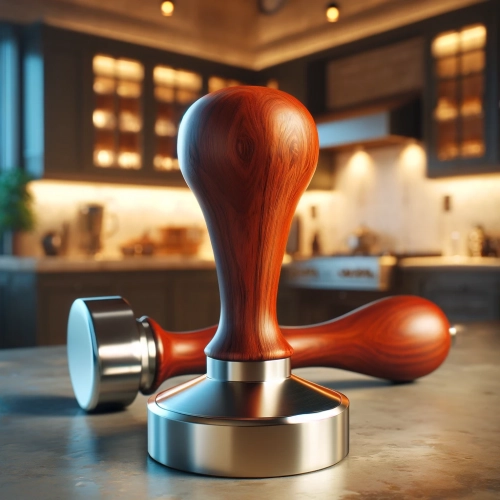


 Accessories
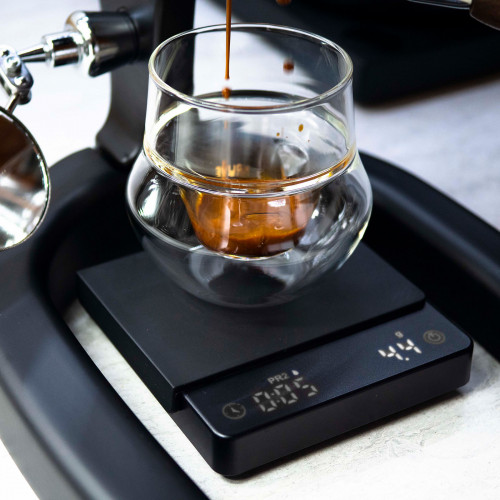


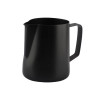
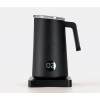 Milk frothers
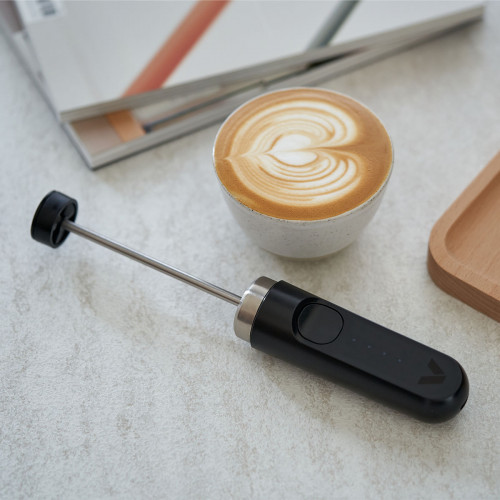
 Reusable coffee capsules


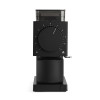
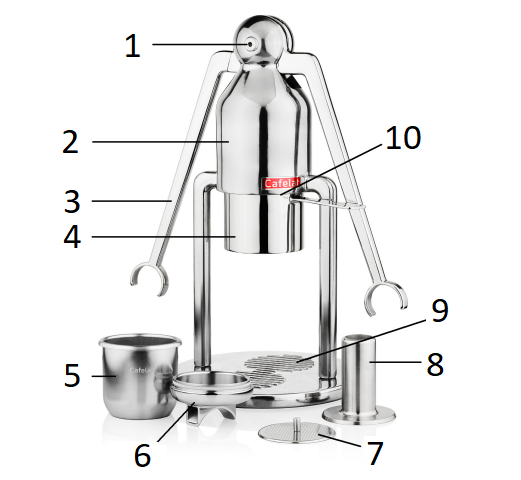
Product description
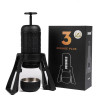
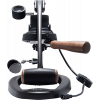
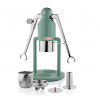
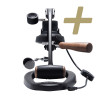
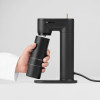
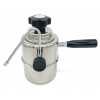
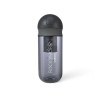
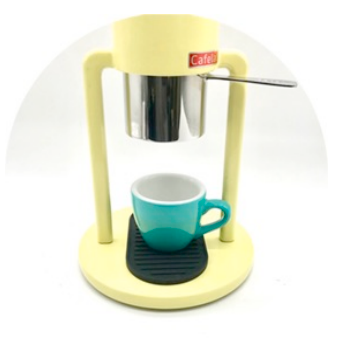
The robot uses the same principle as a classic lever coffee maker, but the power to drive the piston is provided mechanically by the user. The robot does not have a boiler or other heating element, but it can still make just as good espresso thanks to its oversized filter basket, which becomes a brewing chamber when filled with hot water. By raising or lowering the lever arms, the piston is raised or lowered into the filter basket. It is important to find a stable table or counter on which you will use the machine.
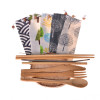
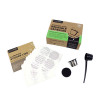
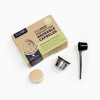
Package Contents:
- Body with arms and base
- 1 portafilter
- 1 Professional/Pressure basket
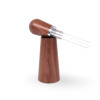
- 1 Stainless steel tamper
- 1 Stainless steel dispersion disc
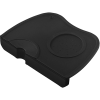
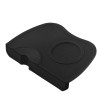
- 1 Silicone pad
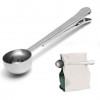
- 1 Measuring spoon (only supplied with pressure basket)
- Piston blanking plug and Teflon pad (if you have the Barista version)
- 1 pack of paper filters
 |
|
For more detailed information on how to get the most out of your Cafelat Robot coffee machine, including tips and frequently asked questions, please visit the website at:
http://www.cafelat.com/robot.html
Assembling the portafilter
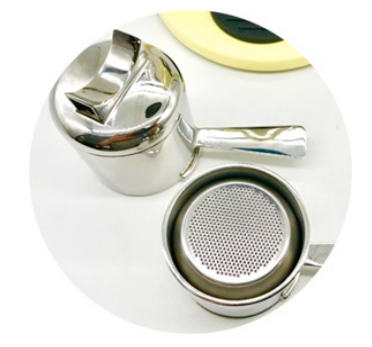 |
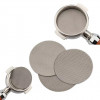
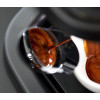
The handle that holds the filter basket and fits into the main body is called the Portafilter (PF). One of the most important developments in espresso in recent times has been the introduction of the bottomless portafilter (BPF), i.e. portafilters without a spout. In the picture you can see the standard PF on top and the BPF on the bottom. The BPF allows the user to get a close-up view of the coffee coming out of the basket on its way to the cup. Not only does it look great, but it also gives you instant feedback on what is happening inside the filter basket. |
BPF Benefits:
- When you see the first drops of coffee appear on the bottom, you can tell that the coffee pod is fully brewed
- You can tell if you have an even extraction - i.e. whether the coffee is leaving the basket evenly across the entire surface or just on one side
- Any splashing through the holes would indicate a poor brew
- Better crema
- Possibly higher coffee temperature
The main disadvantage of using a BPF is the fact that only one coffee can be brewed at a time. Because we are such big fans of using a BPF, we have included our patented "all in one" system, which means that you can use the PF as either a regular PF or a BPF. The spouts can be attached using a silicone ring. When first installing the spout into the PF body, you may need to use some silicone grease or a little water. The spout should be firmly seated in the body. If it is too loose, clean or replace the silicone ring. The basket simply slides into the PF. There is no spring clip to hold it in place.
Inserting and removing the portafilter
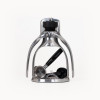
When inserting or removing the portafilter, the arms must always be lifted up to the highest position.
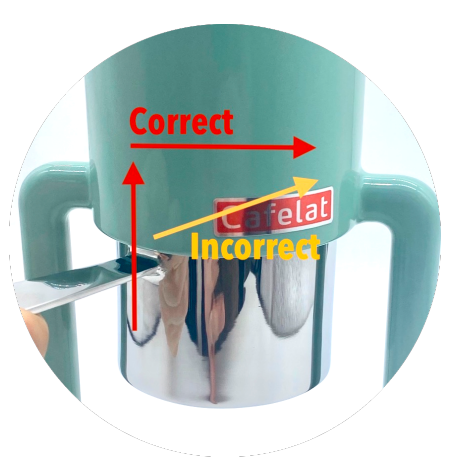 |
When inserting the portafilter, you must first lift it up and then slide it to the right. If you try to insert it like you would on a regular machine, it will not be easy. To familiarize yourself with securing the portafilter to the main body, you can practice without the basket attached. |
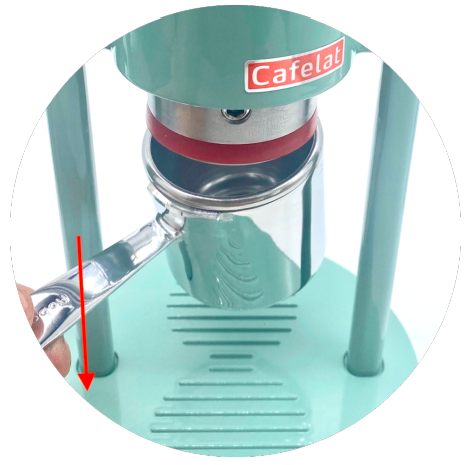
| To remove the portafilter, turn it to the left. Then, press the end of the handle and pull downwards at a slight angle. This will remove both the portafilter and the basket. |
 |
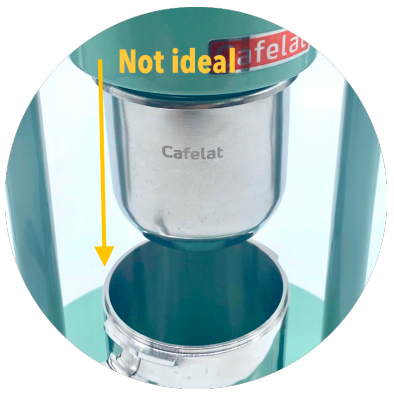 |
If you simply turn the handle left and lower the portafilter there is a good chance the basket will be stuck to the piston. So for this reason we advise the tipping the handle method above. |
Instructions for use
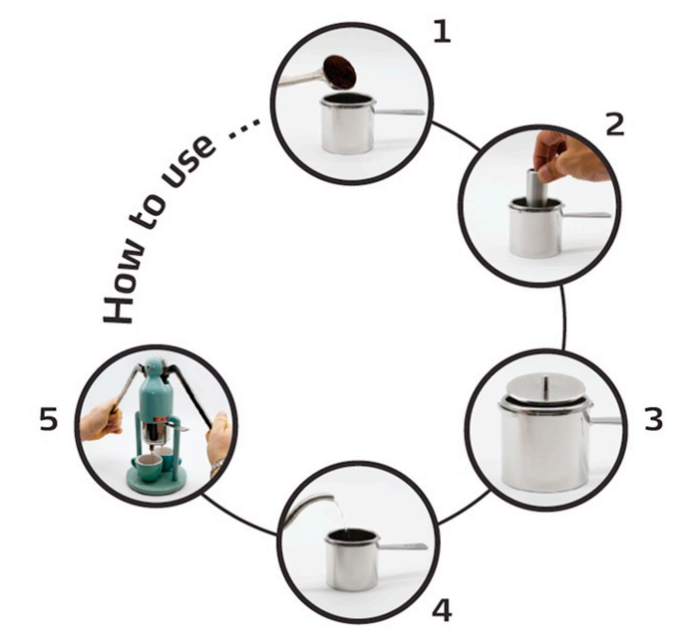
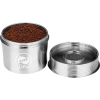
- Add ground coffee to the basket. Approx. 10g-21g
- Level the coffee and tamp the coffee using the tamper
- Press the screen firmly on top of the coffee ensuring it is flat
- Add water just off the boil and fill up to 5-8mm below the basket rim
- Insert the portafilter into the machine and push the lever arms down slowly and steadily
Paper filters may be used instead of the metal screen
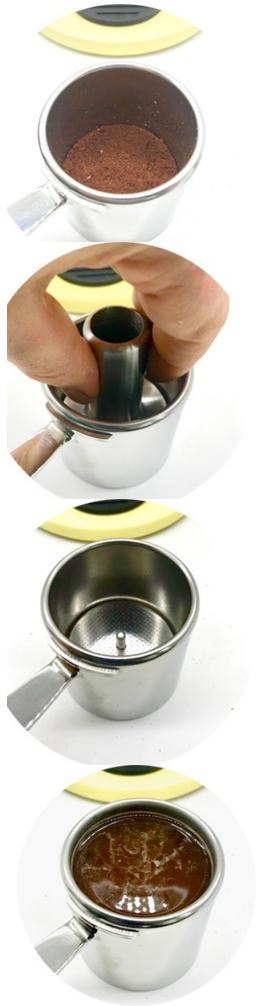 |
Add the coffee to the basket. The minimum dose is Tamp the coffee. Using the supplied tamper flatten and Add the screen. The screen is firmly placed on the bed of |
Add the hot water. Start your adventure by adding water
from the kettle just off the boil. When it hits the stainless steel
filter basket it will immediately lose around 3-4 deg. C of
temperature, this will put you in the right area for making
coffee.
It is important not to overfill the basket with water. You must
leave around 5-8mm of space between the top of the water
and the rim of the basket. If it is filled higher you will notice
water leaking when you put the PF in place.
It is also important not to under fill the basket either. Air compresses whereas
water does not, if you have a large void full of air the lever press will feel a bit
spongy and not give you good feedback on the pressure you are extracting.
 |
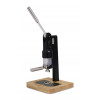
Extraction. Carefully move the PF to the machine and lock it in place. To do so you will have to lift the lever arms to raise the piston. The arms must be raised all the way to the top in order to correctly lock the PF in. The PF should be inserted on the left side. Lift the portafilter up and then move it all the way to the right as far as it will go. You will struggle to insert the portafilter if you try and lock it in to the right BEFORE you have lifted it up first. Likewise you will struggle to insert it if the arms are not fully up. Now slowly lower the arms and you will feel some resistance as the water meets the coffee. This initial meeting of the coffee and water is called preinfusion, it is when water permeates through the coffee and causes it to swell. Pre-infusion is usually done at a much lower pressure then during full extraction. |
Press the lever arms down firmly and in one motion. Do not attempt to pump
the arms up and down, as this will just disturb the puck, the screen and the
water. It will result in a big mess and make very poor coffee. In fact even
letting go of the levers for a tiny amount will ruin a shot. So it is best to keep a
firm even pressure on the levers at all times. A tailing-off pressure is fine, but
no sudden start-stops. Experimentation is the key.
 |
Extraction time. As you are starting out I would say you need at least 5 seconds from when the levers descend and you see coffee appear on the bottom of the basket, and a minimum of 15 seconds of actual coffee flowing from the basket when you are pushing the levers down. |
Ending the shot. The coffee maker has the capacity to make a full double
shot of well in excess of 50-60g of Beverage. However you may chose to end
the shot at any time by just simply stopping pressing the levers down and
removing your cup. The coffee will stop extracting at this point – a tip to
prevent any drips is to lift the levers a fraction and it will suck back the water
and stop the flow.
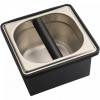
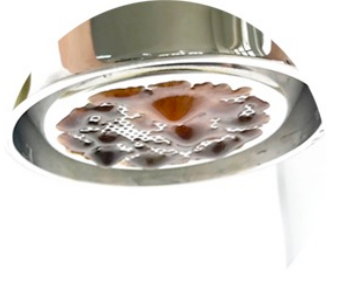
Cleaning. At this point you should place a spare cup or container under the
spouts – this will collect the water/coffee left in the PF. If you were to simply
remove the PF at this point you will be left with a sludgy mess, what we want
to see is a nice hard coffee cake that is easy to dispose of.
With your extra cup or container under the spouts, life the levers and push
them down again, this will express the remaining water from the basket in the
form of some weak coffee (which is why we do not “pump” the arms). You
may have to repeat this a 2nd time, as you will notice how spongy and soft the
pressures now are (which is why we do not like a big air void above the
water). You will know when all water has been forced through the coffee
when you can hear, and possibly see, a whoosh of air pass through the
coffee.
Now you can remove the PF. Lift the levers to the top again, and then remove
the PF. It will still be hot at this point so either cautiously remove the filter
screen or let it cool for a few moments. With the screen removed you may
now “knock out’ the puck.
Care and maintenance
The Robot coffee maker is easy to maintain, as the parts that come into contact with water are made of stainless steel. Wash only under running water.
From time to time, you can use a coffee maker descaling agent to soak the individual parts. You can do this with the basket, metal cover and spout. Follow the instructions of the manufacturer of the agent.
Do not put any parts of the Robot in the dishwasher!
The main body of the robot only needs to be cleaned occasionally with a damp and dry cloth.
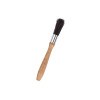
The only part of the machine that would require any lubrication is the silicone seal. For this purpose, you should use a silicone-based lubricant.
Warranty and how to use the product
Products are covered by the standard statutory warranty period. This warranty is non-transferable and financial compensation in cash is not possible. The warranty does not apply to products that have been used in a manner other than that specified in these instructions for use.
The warranty also does not cover:
- Damage resulting from improper use, neglect of care, or any other use for purposes not listed in this manual.
- Damage to appearance, damage caused by corrosion or gradual wear and tear.
Any intervention or repair by unauthorized persons results in the voiding of the product warranty.
Seller and importer: NajTrade s.r.o., Húskova 31, 04023 Košice, IČO: 50590502.

")
")
")
")
")


")
")

