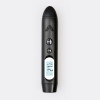
 AT
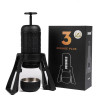
AT  Portable coffee makers
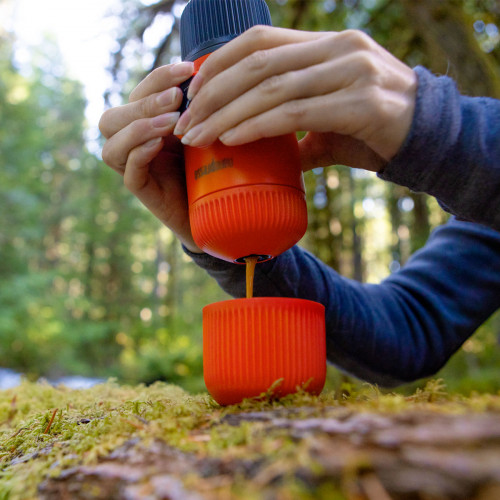


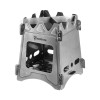
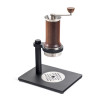
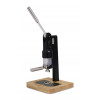
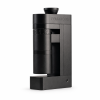
 Special coffee makers


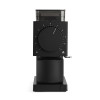
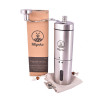
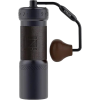 Coffee grinders
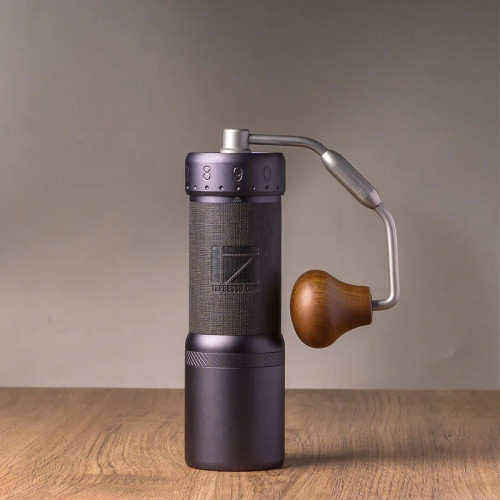


 Barista tools
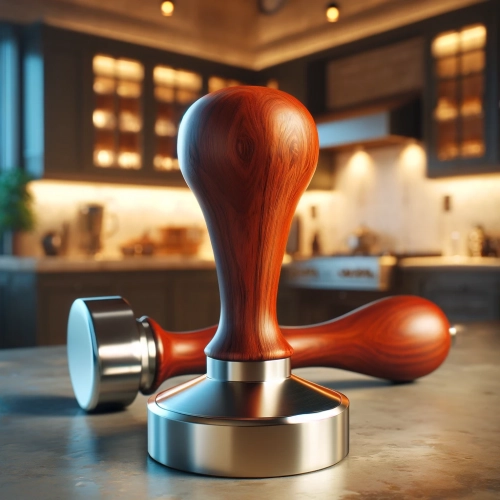


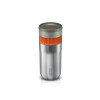
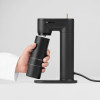
 Accessories


 Milk frothers
 Reusable coffee capsules


Congratulations, You're a Home Barista
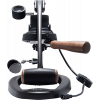
Flair 58 Plus 2 Introduction
Welcome to the wonderful world of home espresso, with the Flair 58 Plus 2. We are so happy you’re here, and can’t wait to get you started brewing delicious shots for yourself and your loved ones. But, before we dive in, we wanted to mention a few things first.
|
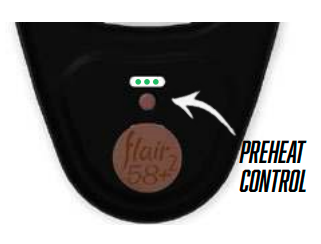
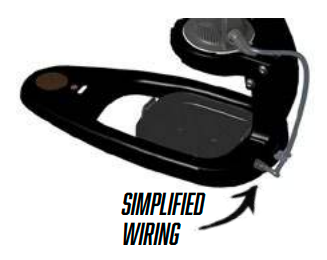
What’s New: The Flair 58 Plus 2 features a Preheat Control System that is fully integrated into the base. The wiring has been simplified, with tandem rear exit points, and the power supply is a sleek wall mount. What’s Needed to Brew: The Flair 58 Plus 2 is a professional grade espresso machine, meaning that you will need a high-quality burr grinder to effectively dial-in your shots. If you have any questions with regards to this, please reach out to our team! |
 |
 |
Seeing is Believing: We feel video brewing guides are the best way to learn. Follow the QR codes! Questions? If you have any questions, please reach out to our world-class customer service team. We are always here. |
Video Brewing Tutorial:
The best way to learn is by watching

Video Tutorials: https://flairespresso.com/flair-58-plus2-tutorials/
Contact Flair: https://flairespresso.com/contact/
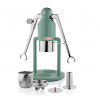
Parts, Bits & Goodies For Brewing Great Espresso
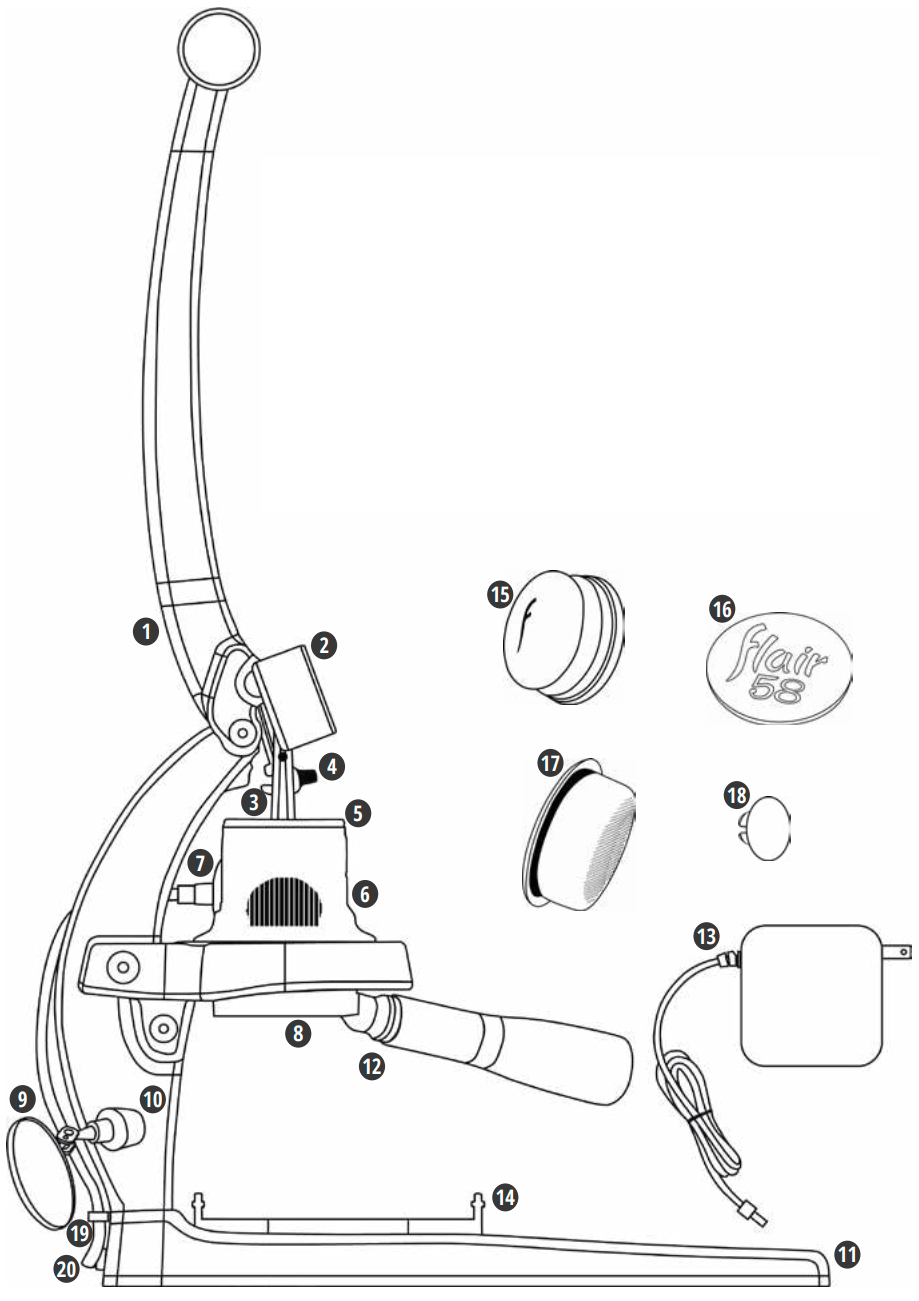
What's Included In The Box
- Lever Assembly with Brew Base
- Pressure Gauge
- Plunger Stem
- 3-Piece Lever Hook
- Valve Plunger (in Brew Cylinder)
- Brew Cylinder
- Detachable Preheat Cable
- 58mm Walnut Portafilter with Low Flow Basket
- Shot Mirror
- Attachment for Mirror
- Base with Preheat Controller
- Preheat Controller
- Power Supply & Plug
- Drip Tray
- Walnut Palm Tamper
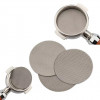
- Puck Screen
- High-Flow Portafilter Basket
- Connector Cap
- Wire Guide
- Rear Plug Interface
A Few Minutes Of Work For a Lifetime Of Espresso
Assembly Out Of The Box
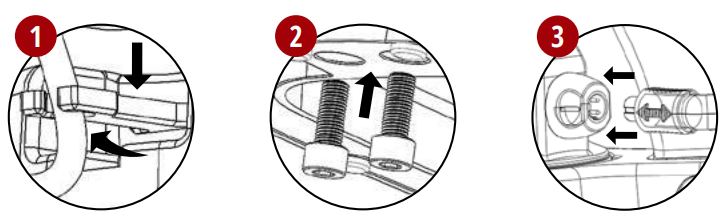
- Add Preheat Cable from back of base through the Wire Guide and place Wire Guide into the slot on the base.
- Orient bottom of Lever Assembly over top of Wire Guide, and bolt Base and Lever Assembly together with two screws. Ensure lever alingment & tighten.
- Remove Cap from Brew Cylinder connector and plug in Preheat Cable, aligning the arrows. Keep cap safe for future use.
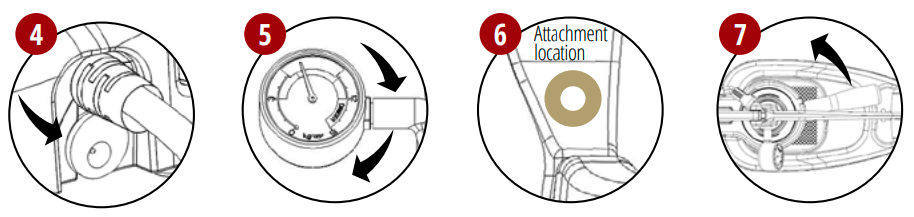
4. Then plug in Power Supply to the open slot on the base before connecting your Power Supply to an outlet.
5. Attach Pressure Gauge to stem by screwing in clockwise. Screw in completely, then orient gauge face upright.
6. Attach the Shot Mirror to the lower left of the frame. There is an embedded steel disc in this location only!
7. Insert the Portafilter with the handle just to the right of the lowered lever. Turn counter-clockwise to lock (roughly 4 o’clock).
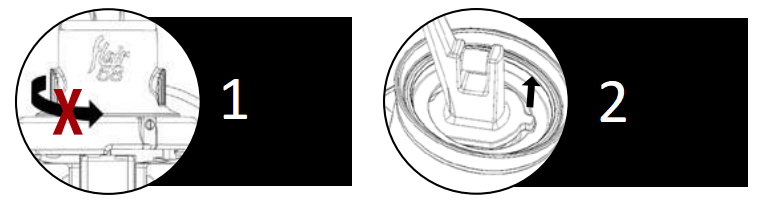
1. Caution: Do not rotate, reposition or remove the Silicone Sleeve or wires
The 58+ comes with the brew cylinder attached to the brew base. To remove, loosen the set screw and rotate clockwise.
2. Note: The plunger may rotate over time, causing the stem tab to align with the plunger slot
If the two parts disengage from each other, follow the cleaning instructions to remove your plunger and re-orient correctly.
You're Seconds Away From Handcrafted Espresso
Brewing With Your Flair 58 Plus 2
#1 - Prepare the Flair
(a) Raise lever for preheat (b) Press button on Preheat Controller to select your desired preheat temperature of low, medium or high (See next page for full details) (c) Insert portafilter for preheat by aligning it with the brew base and (d) rotate the portafilter handle counterclockwise until it is firmly in place, at roughly the 4 o’clock position (Do not over-rotate).
#2 - Prepare the Portafilter & Brew Head
(a) Boil water (b) Grind roughly 18 grams of freshly roasted beans with burr grinder (c) Remove portafilter from brew base, add grounds and tamp (d) Add puck screen on top of tamped grounds and re-insert portafilter (e) Fill your brew head using the valve plunger as described below.
#3 - Brew your Espresso
(a) Slowly lower lever to build pressure and begin brewing (b) Target a shot duration of 30-35 seconds at 6-9 BAR using the pressure gauge as reference (c) When desired shot weight/volume is reached, or lever is fully lowered, raise the lever to start position to stop the flow.
#4 - Purge your System
(a) Place empty cup on drip tray (b) Expel remaining water by lowering the lever all the way down to expel remaining liquid, repeat as needed (c) Rotate portafilter clockwise to remove for cleaning.
A Seamless Way To Brew Back-To-Back Shots
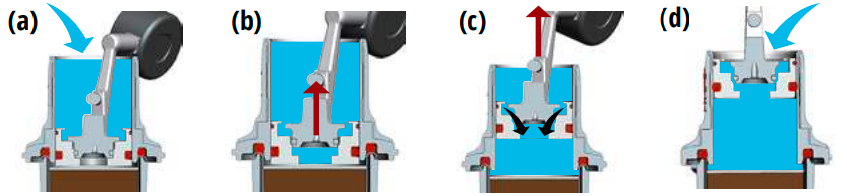
Using Your Valve Plunger
(a) Start with the lever lowered and fill brew cylinder to rim with water (b) Raise lever enough to unseat stem and open valve allowing water to fill head space below (Wiggle lever to minimize air pockets) (c) Continue to raise lever slowly, and water will pass through the valve and into the brewing chamber (d) Top-off chamber through opening made between stem and plunger once lever is fully raised
Simple Thermal Management For Any Roast
The Flair 58 Plus 2 Preheat System
| The Flair 58 Plus 2’s Preheat Control System is integrated into the base and can preheat the brew cylinder to three temperatures to correspond to different roast levels. Find preheat details below and our full Safety and Instructions Guide online by following the QR code for tutorials. | 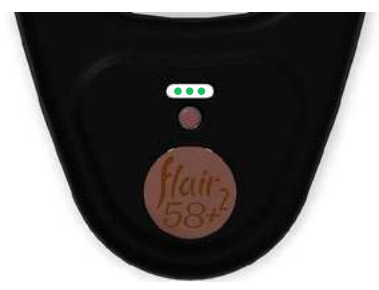 |
| TURN ON - Press & hold button (3 sec) - LEFT light will BLINK - then... | ||
|---|---|---|
|
LOW ~85° C (185° F)
Wait A Few Minutes (for preheat to complete)
Left Light Turns SOLID (when Low Temp is reached) |
MEDIUM ~90° C (194° F)
Push Button AGAIN (CENTER light will BLINK) Wait A Few Minutes (for preheat to complete) LEFT & CENTER Lights Turns SOLID (Med Temp is reached) |
HIGH ~95° C (203° F)
Push Button 2 TIMES (RIGHT light will BLINK) Wait A Few Minutes (for preheat to complete) ALL Lights SOLID (when High Temp is reached) |
| TURN OFF - Press & hold button (3 sec) - ALL lights OFF | ||
Brew With No Strings Attached
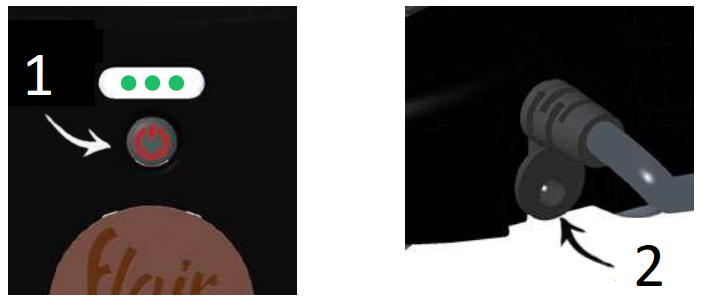
The Flair 58 Plus 2 Detachable Power Supply
1. Press & Hold
Your Flair 58 Plus 2 can be preheated then detached from the cable for the ability to brew away from any plugs. First, turn off the Preheat Controller located in the base.
2. Unplug Power
Once the preheat controller has been turned off, unplug the Power Supply from the back of the base. Your Flair 58 Plus 2 can now be taken anywhere, to brew with ''no strings attached''.
Keep Your Flair In Tip Top Shape
Cleaning Your Flair 58 Plus 2
Before cleaning, always ensure that your Flair 58 Plus 2’s Preheat System is off and your brew head has cooled. Never immerse the brew head in water.
|
No Soap Needed! Keep Outside Surface & Wires Dry!
|
 |
See our online “Safety and Instructions Guide” via the QR code for more information.
Flair's World-Class Customer Service Is a Snap Away
Troubleshoot Your Flair 58 Plus 2

Reach Us Directly: https://flairespresso.com/contact/
Warranty and how to use the product
Products are covered by the standard statutory warranty period. This warranty is non-transferable and financial compensation in cash is not possible. The warranty does not apply to products that have been used in a manner other than that specified in these instructions for use.
The warranty also does not cover:
- Damage resulting from improper use, neglect of care, or any other use for purposes not listed in this manual.
- Damage to appearance, damage caused by corrosion or gradual wear and tear.
Any intervention or repair by unauthorized persons results in the voiding of the product warranty.
Seller and importer: NajTrade s.r.o., Húskova 31, 04023 Košice, IČO: 50590502.
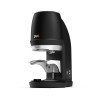
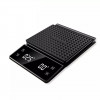
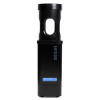
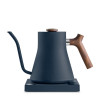
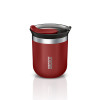
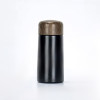
Related Products
")


