
 AT
AT  Portable coffee makers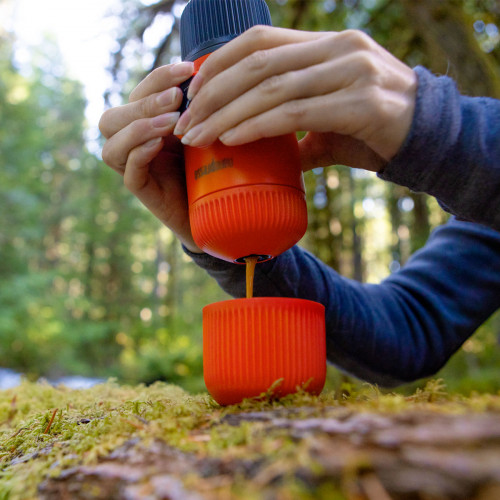
 Special coffee makers




 Coffee grinders



 Barista tools




 Accessories



 Milk frothers
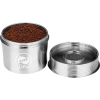 Reusable coffee capsules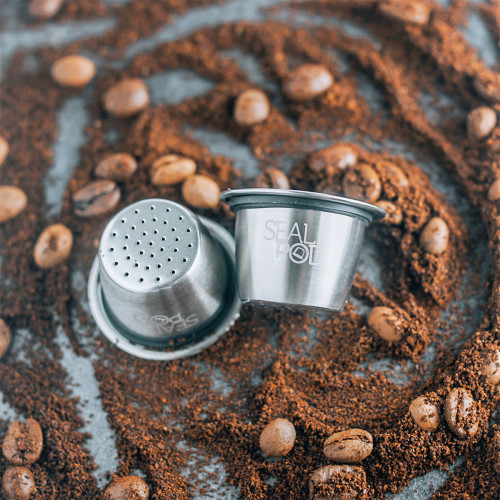



































Congratulations, Your Grind Is Electrified
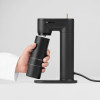
Power Tower Introduction
Welcome to the world of grinding here, or anywhere, with the Flair Power Tower.
As a company, Flair Espresso first started as a Kickstarter project aimed at offering a
simple, affordable home lever espresso maker, and has continued to grow into a full
catalogue of thoughtful espresso-centric products. We pride ourselves on our continued
expansion, fueled by innovation and the desire to make espresso accessible for all.
We are so happy you’re here, and can’t wait to get you started grinding for any coffee
adventure. But, before we dive in, we wanted to mention a few things:
- Your Power Tower embodies espresso for all, in that it not only works with Flair’s Royal Grinder, but a number of other compatible grinders.
- More information can be found on our website via the QR codes. We feel video learning guides are the best way to to get up to speed!
- Finally, we are here to support your espresso journey. If you encounter any questions or challenges, please reach out to our world-class customer service team. We are always available to help in any way.
Video Brewing Tutorial:
The Best Way To Learn Is By Watching

Video Tutorials: https://flairespresso.com/power-tower-tutorials/
Contact Flair: https://flairespresso.com/contact/
Parts, Bits & Goodies For Grinding
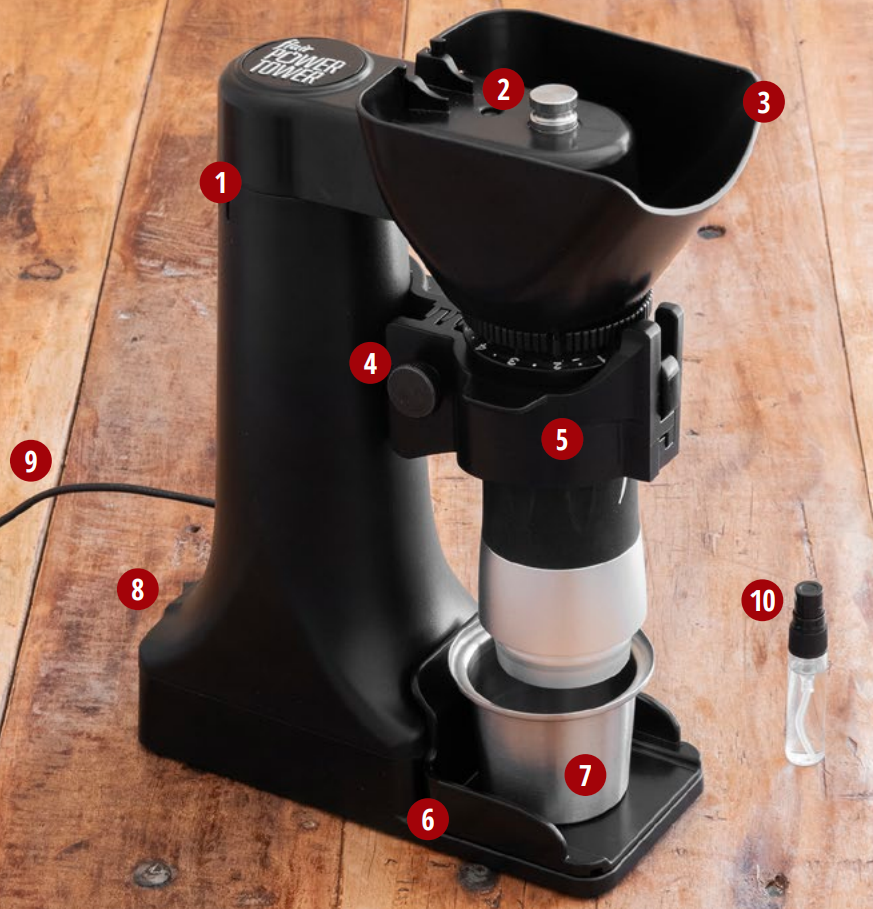
- Power Tower Body
- Drive Shaft
- Funnel
- Thumb Screw
- Removable Cradle Arm
- Grounds Tray
- Catch Cup
- Power Switch
- Plug with Battery Light
- RDT Spray Bottle
We Love Getting Attached!
Connecting The Royal To Your Power Tower
 |
Plug Power Tower into NOTE: Your Power Tower |
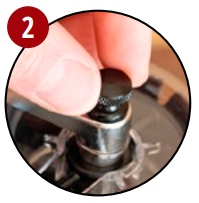 |
Unscrew Royal Thumb Screw and remove Crank , Pop Cap and Catch Cup from Royal Grinder. |
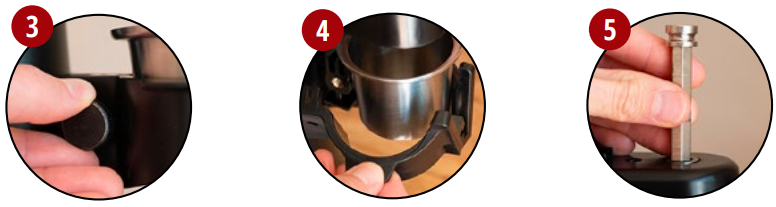
3. Remove Cradle Arm by unscrewing Power Tower Thumb Screw and lifting gently on the tab.
4. Remove the Power Tower’s Catch Cup and set aside.
5. Add the Drive Shaft into the top of the Power Tower.
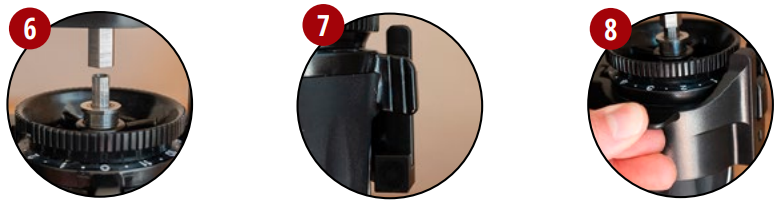
6. Place Royal under the Drive Shaft, and connect the hex pieces.
7. Rotate the grinder counterclockwise until Thumb Rest hits inside of right arm.
8. Replace the Cradle Arm and screw into place. Hand tighten.
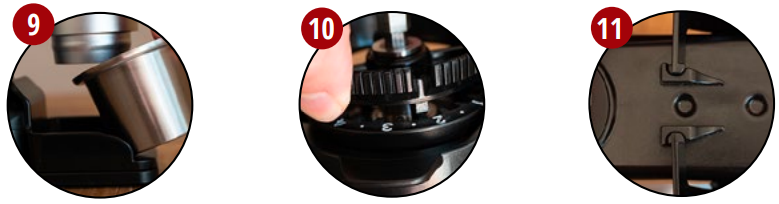
9. Place grounds tray under the Royal, and place Catch Cup on top.
10. Adjust grind setting of Royal Grinder before adding Funnel.
11. Connect the Funnel by sliding until jaws click into place in the stops.
Grinding, Untethered
Using Your Power Tower's Battery
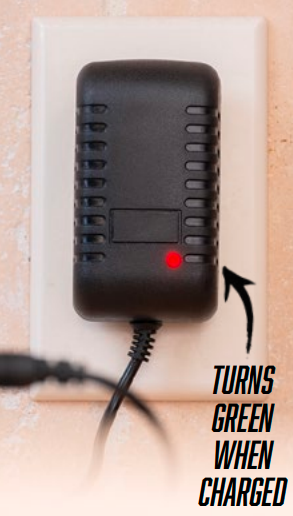 |
Your Power Tower comes with an internal
|
Your First Grind
Tips and Tricks for Your First Grounds
- Turn on your grinder before adding your grounds. This will help with consistency
throughout the entire grind and ensure a more even extraction! - The catch cup was designed to fit directly over the top of a 58mm portafilter. Add
your grounds easily by flipping your portafilter and nestling onto the catch cup. - Adjust your grind size before adding the funnel, and remove each time you’d like to
readjust. This will significantly improve workflow. - Dose beans into a different container than your catch cup. Spray your whole beans
once with your RDT, see next page. Shake before grinding to distribute water droplets. - The Royal grinder may retain some grounds on it’s underside while grinding. A quick #5 tap of the Royal, post grinding, should loosen everything into your catch cup.
- Don’t store beans inside any grinder attached to your Power Tower. Grind your beans #6 immediately before brewing for the best results and most delicious cup.
Say Goodbye To Static
Using Your RDT Spray Bottle
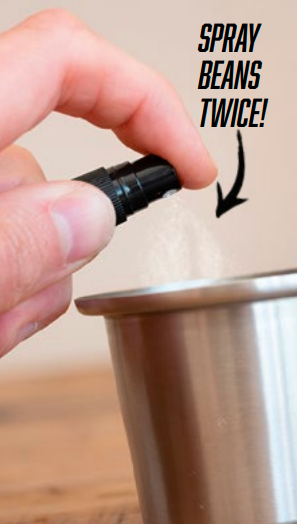 |
Your Power Tower is supplied with a 20ml
|
From Espresso To French Press
Suggested Grind Settings with a Royal Grinder
Rotations 0-11
#1 Extra Fine To Fine
#2 Medium Fine To Medium
#3 Coarse To Extra Course

Safety First, Second And Third
Some Helpful Tips for Safe Grinding with the Power Tower
General:
- Read all instructions.
- Do not use the Power Tower for anything other than its intended use.
- After unpacking the Power Tower, dispose carefully of any plastic or packaging so that children and others cannot reach them.
- Before use, ensure the Power Tower is on a flat and even surface.
- Before setup, ensure the Power Tower is switched off.
- Never place fingers or any utensils into the grind chamber while product is plugged in, charged or on.
- Be cautious with hair and loose clothing around the drive shaft when in operation.
- Do not leave the grinder on while unattended.
- Turn off after each and every use.
Electrical:
- Do not let cord hang over edge of table, or counter, or touch hot surfaces.
- Do not operate this appliance with a damaged cord or plug or after the appliance malfunctions or has been damaged in any manner
- To avoid circuit overload, do not operate another high wattage appliance on the same circuit.
- To protect against fire, electric shock and injury to persons, never immerse cord, plugs, base or brew head in water or other liquid, regardless if the cords are connected or plugged into an electrical socket.
- If battery becomes swollen or damaged, dispose of immediately at a qualified facility
*To see the Power Tower’s full safety guide, visit the tutorials page via the QR code.
Flair's World-Class Customer Service Is a Snap Away
Troubleshoot Your Power Tower

Reach Us Directly: https://flairespresso.com/contact/
Warranty and how to use the product
Products are covered by the standard statutory warranty period. This warranty is non-transferable and financial compensation in cash is not possible. The warranty does not apply to products that have been used in a manner other than that specified in these instructions for use.
The warranty also does not cover:
- Damage resulting from improper use, neglect of care, or any other use for purposes not listed in this manual.
- Damage to appearance, damage caused by corrosion or gradual wear and tear.
Any intervention or repair by unauthorized persons results in the voiding of the product warranty.
Seller and importer: NajTrade s.r.o., Húskova 31, 04023 Košice, IČO: 50590502.


